How to contribute
In this page you can find a guide on how to use the Gitlab UI to start new issues and create merge requests.
Create issues
Whenever you need information that you can’t find in the Handbook, or you find it but it is unclear or incomplete, you can open an issue to highlight the problem and start a discussion. To open a new issue follow these steps:
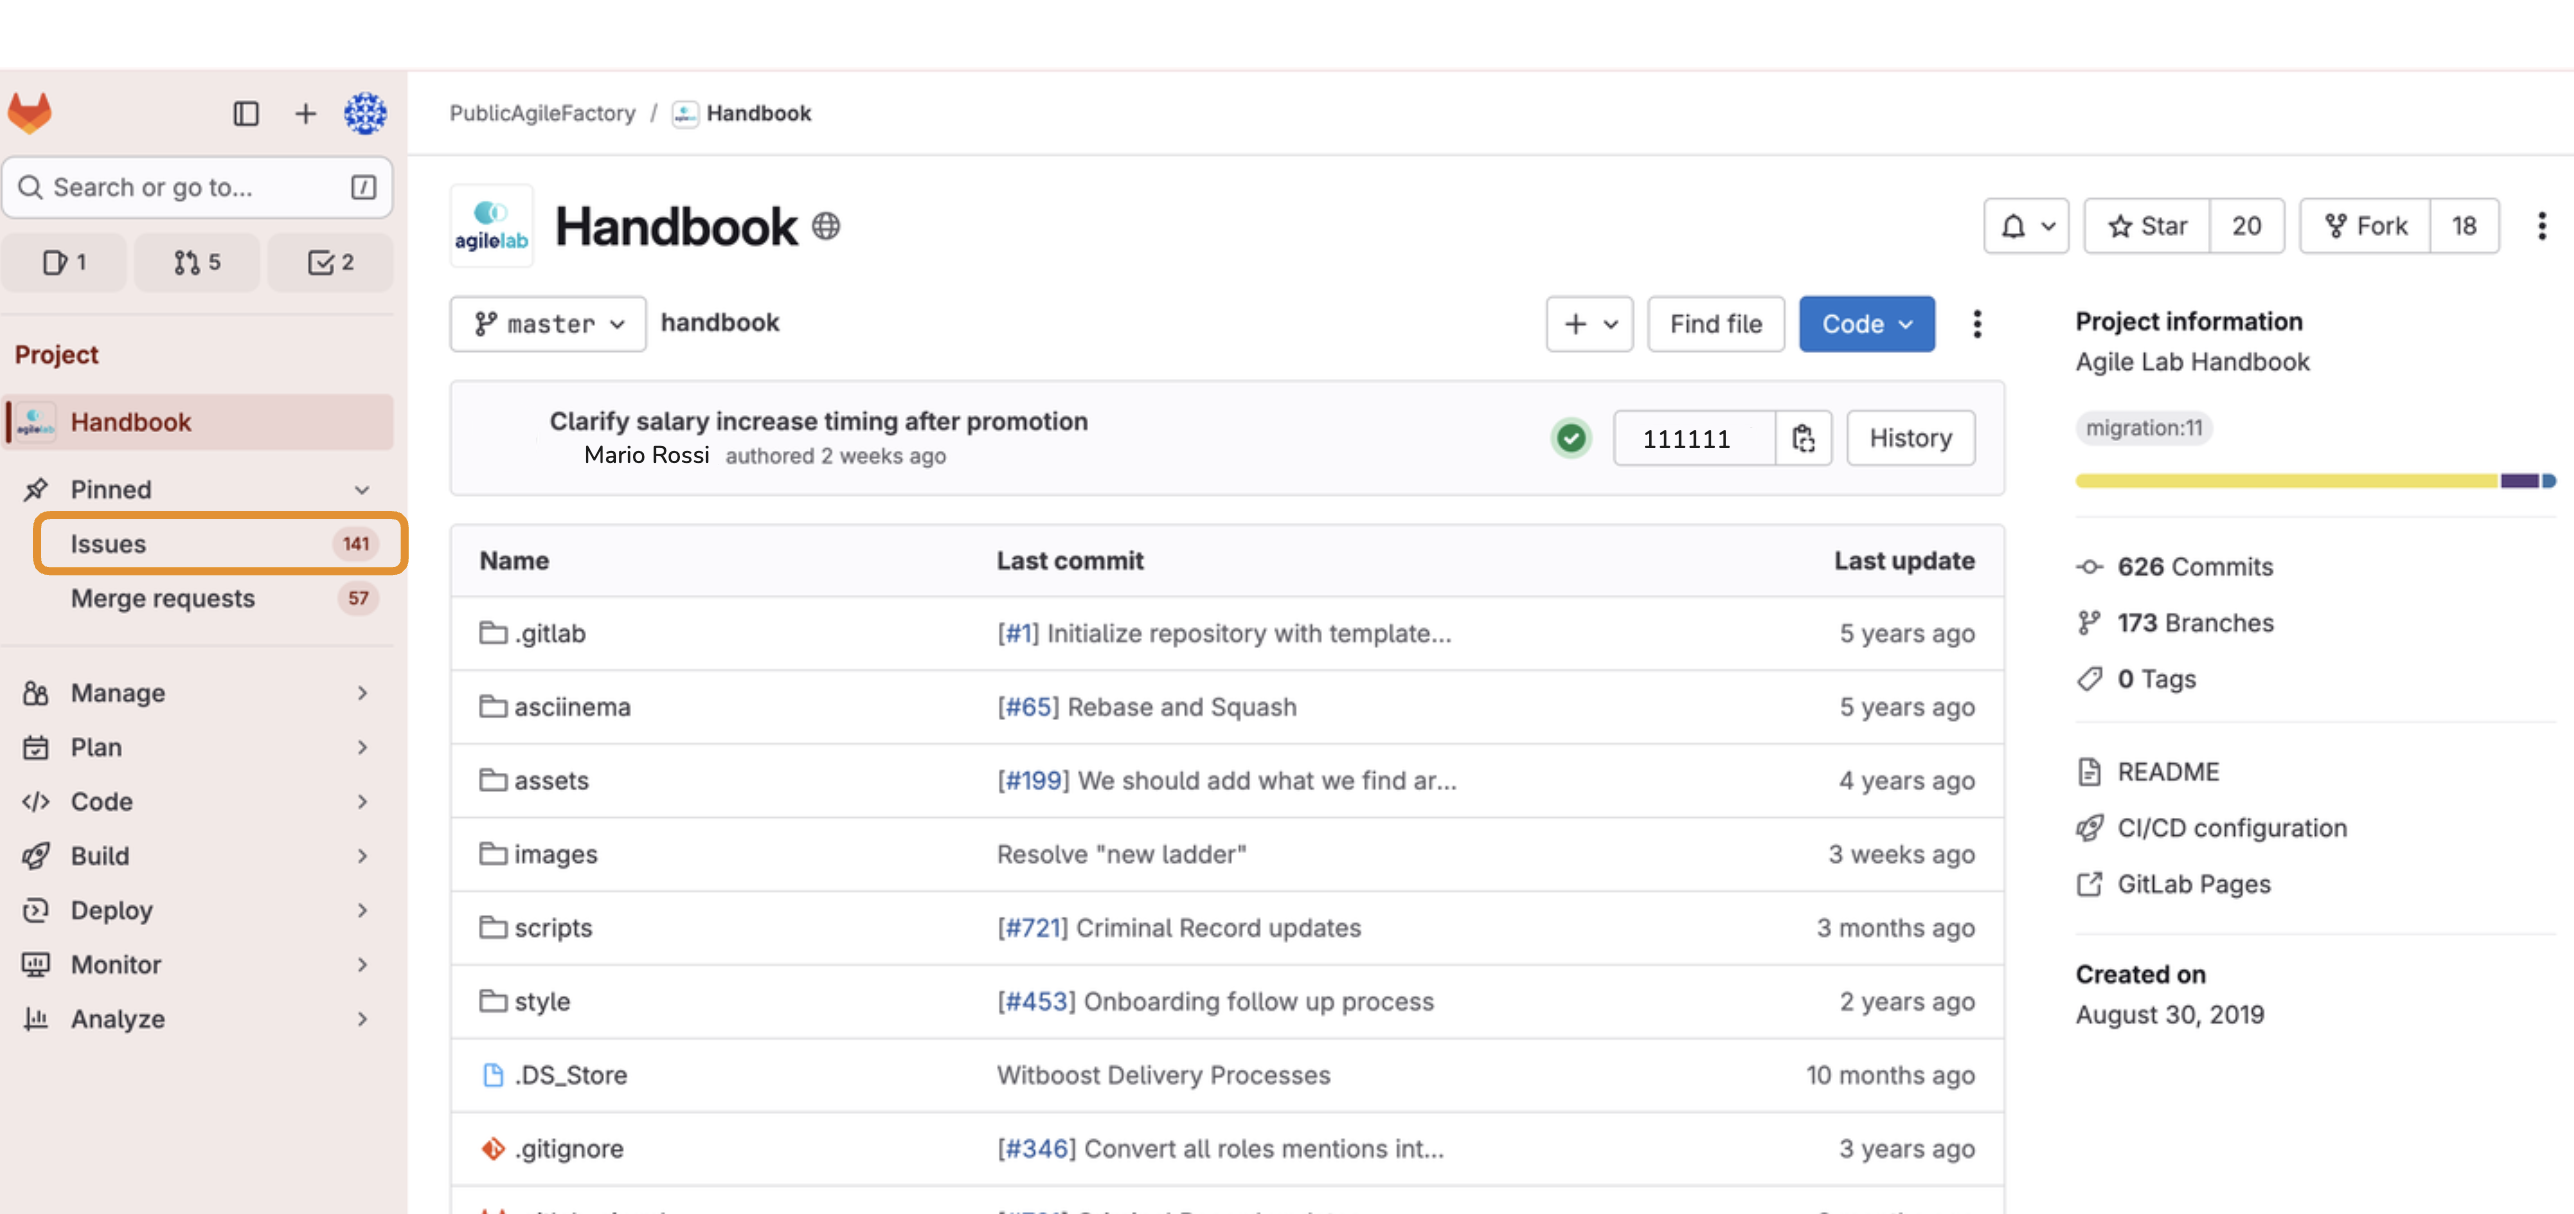
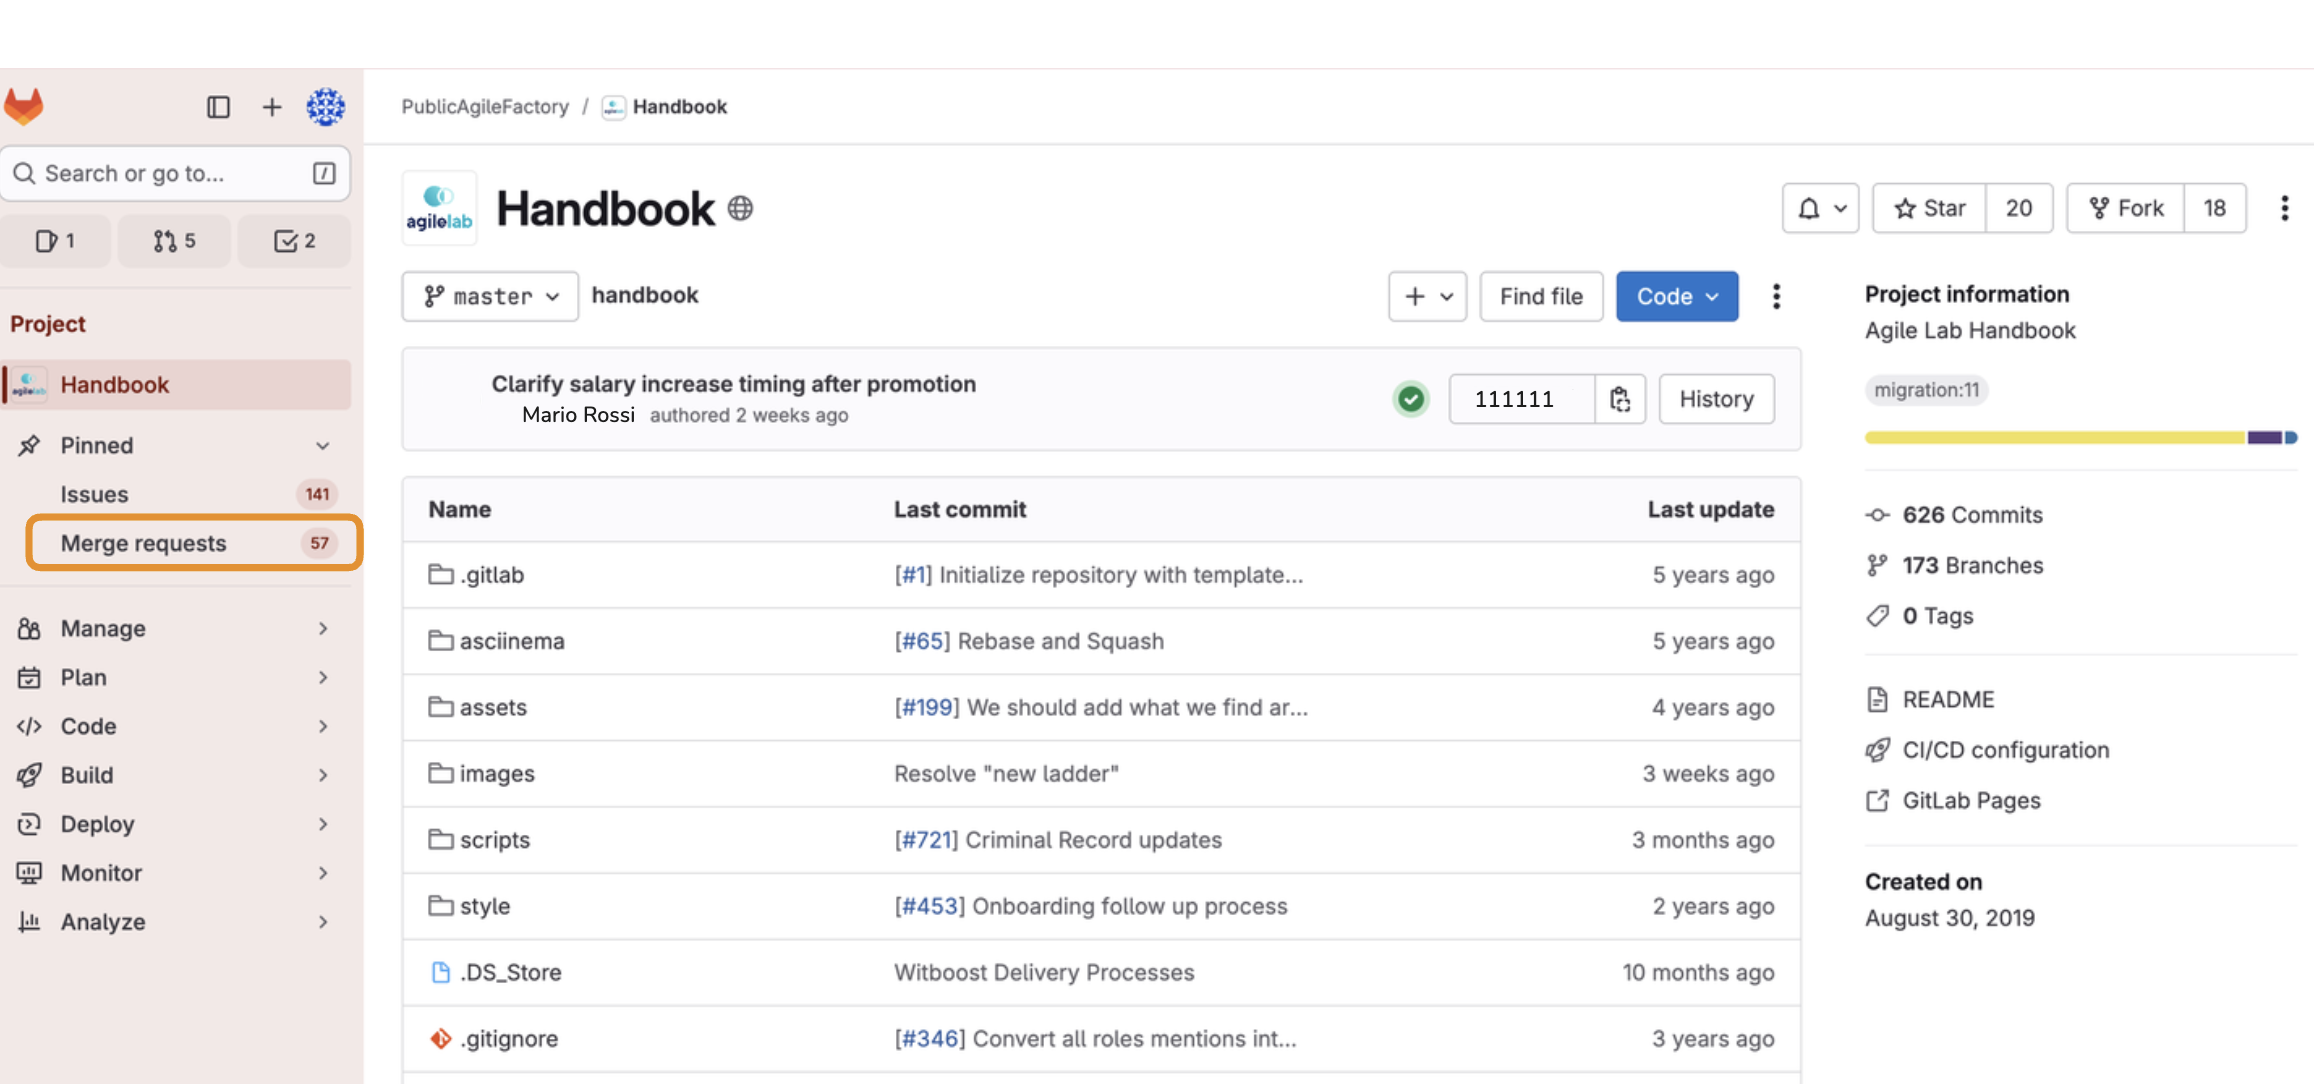
- Go to the Handbook home page.
- Select the "Issues" section in the left column (or select "Issues" from the "Plan" section in the left column).
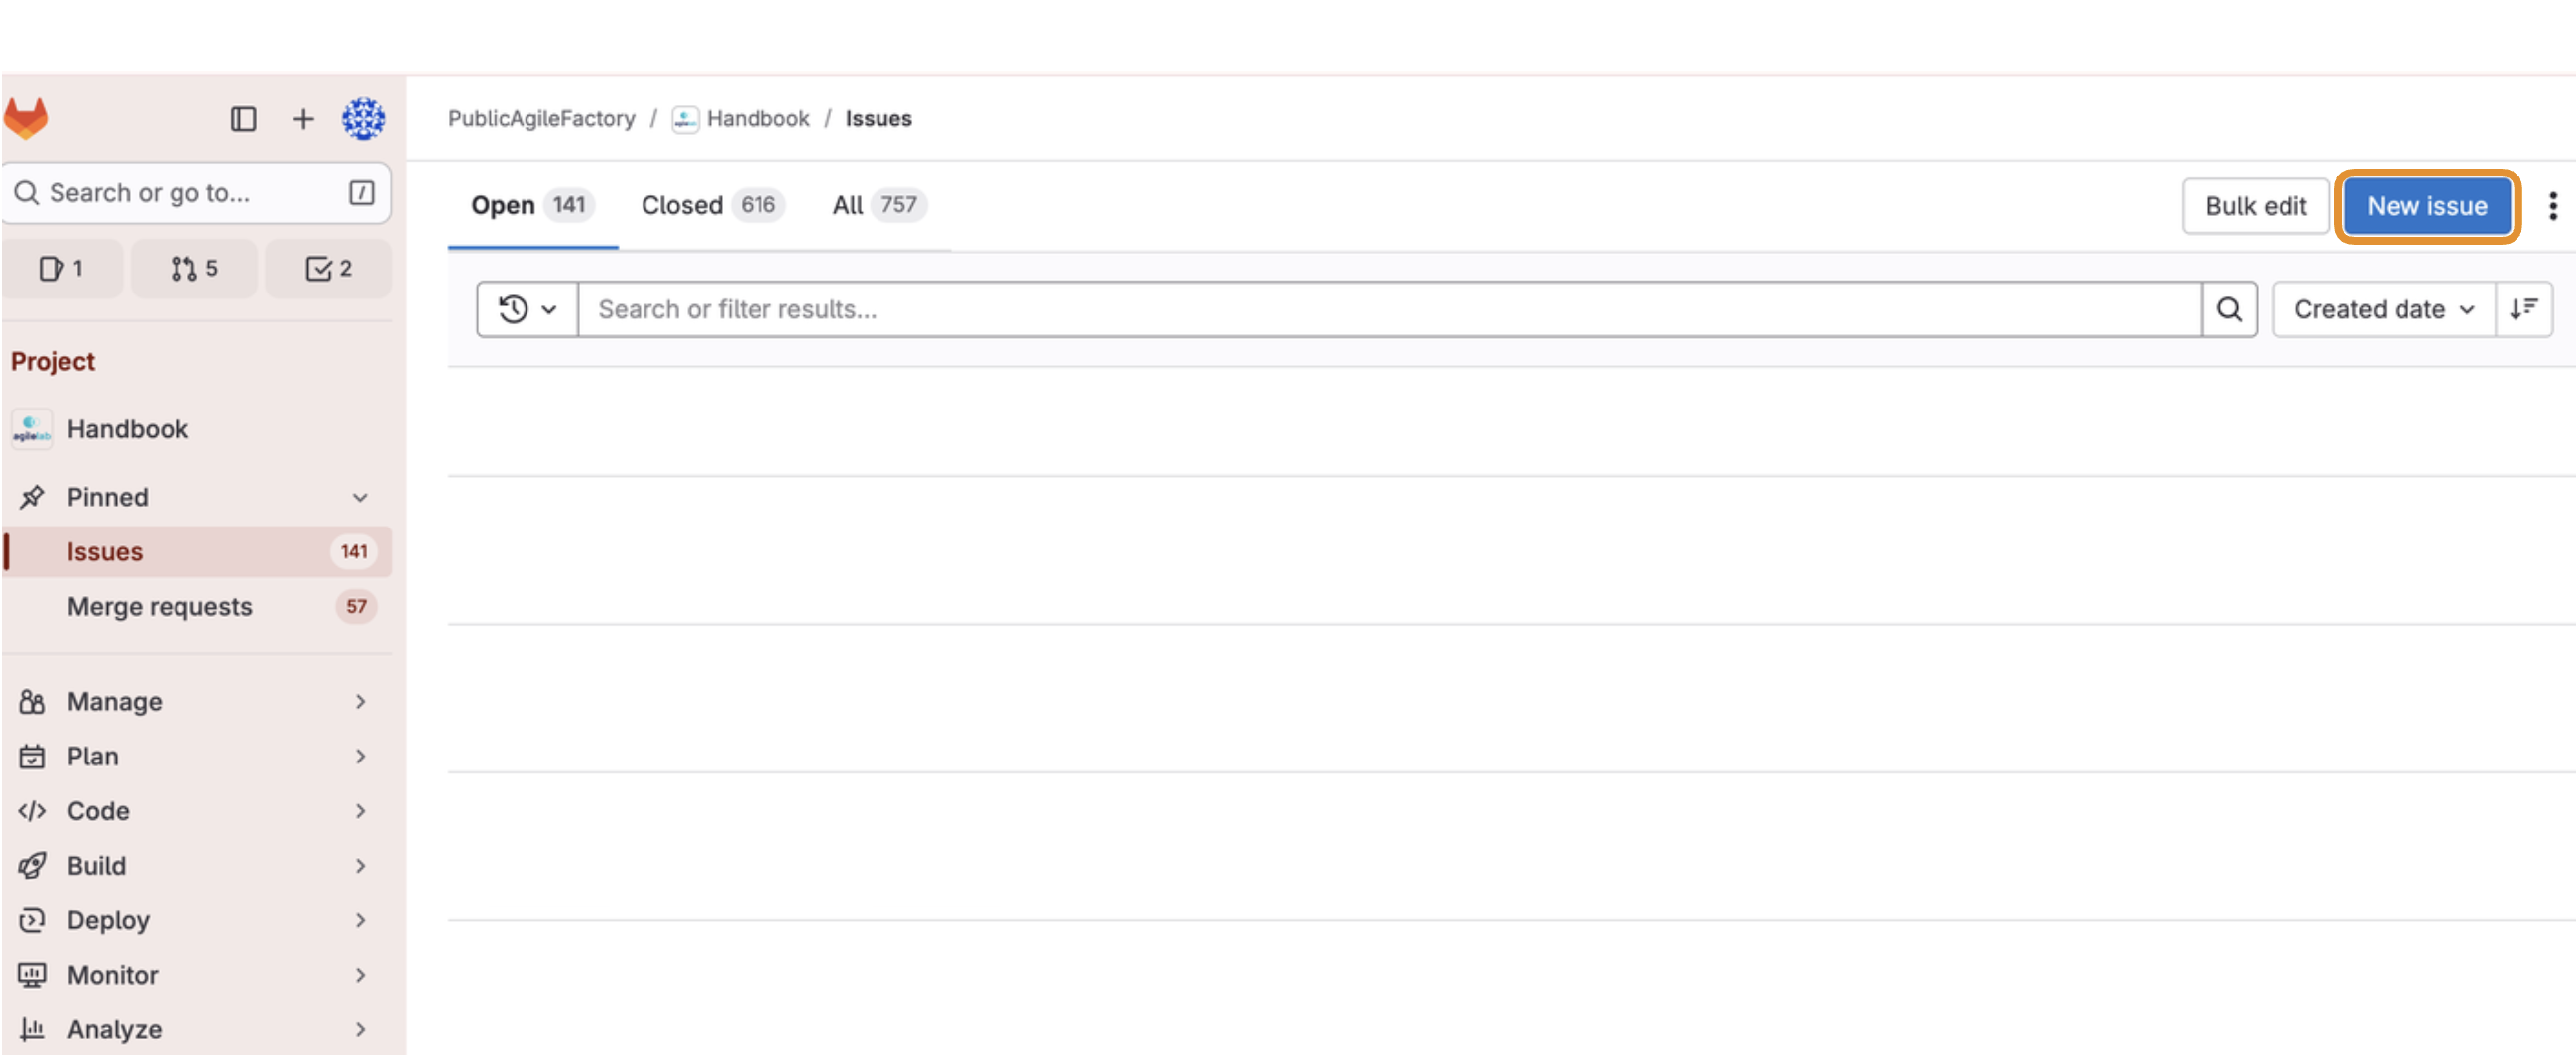
- Select the "New issue" button in the top right corner.
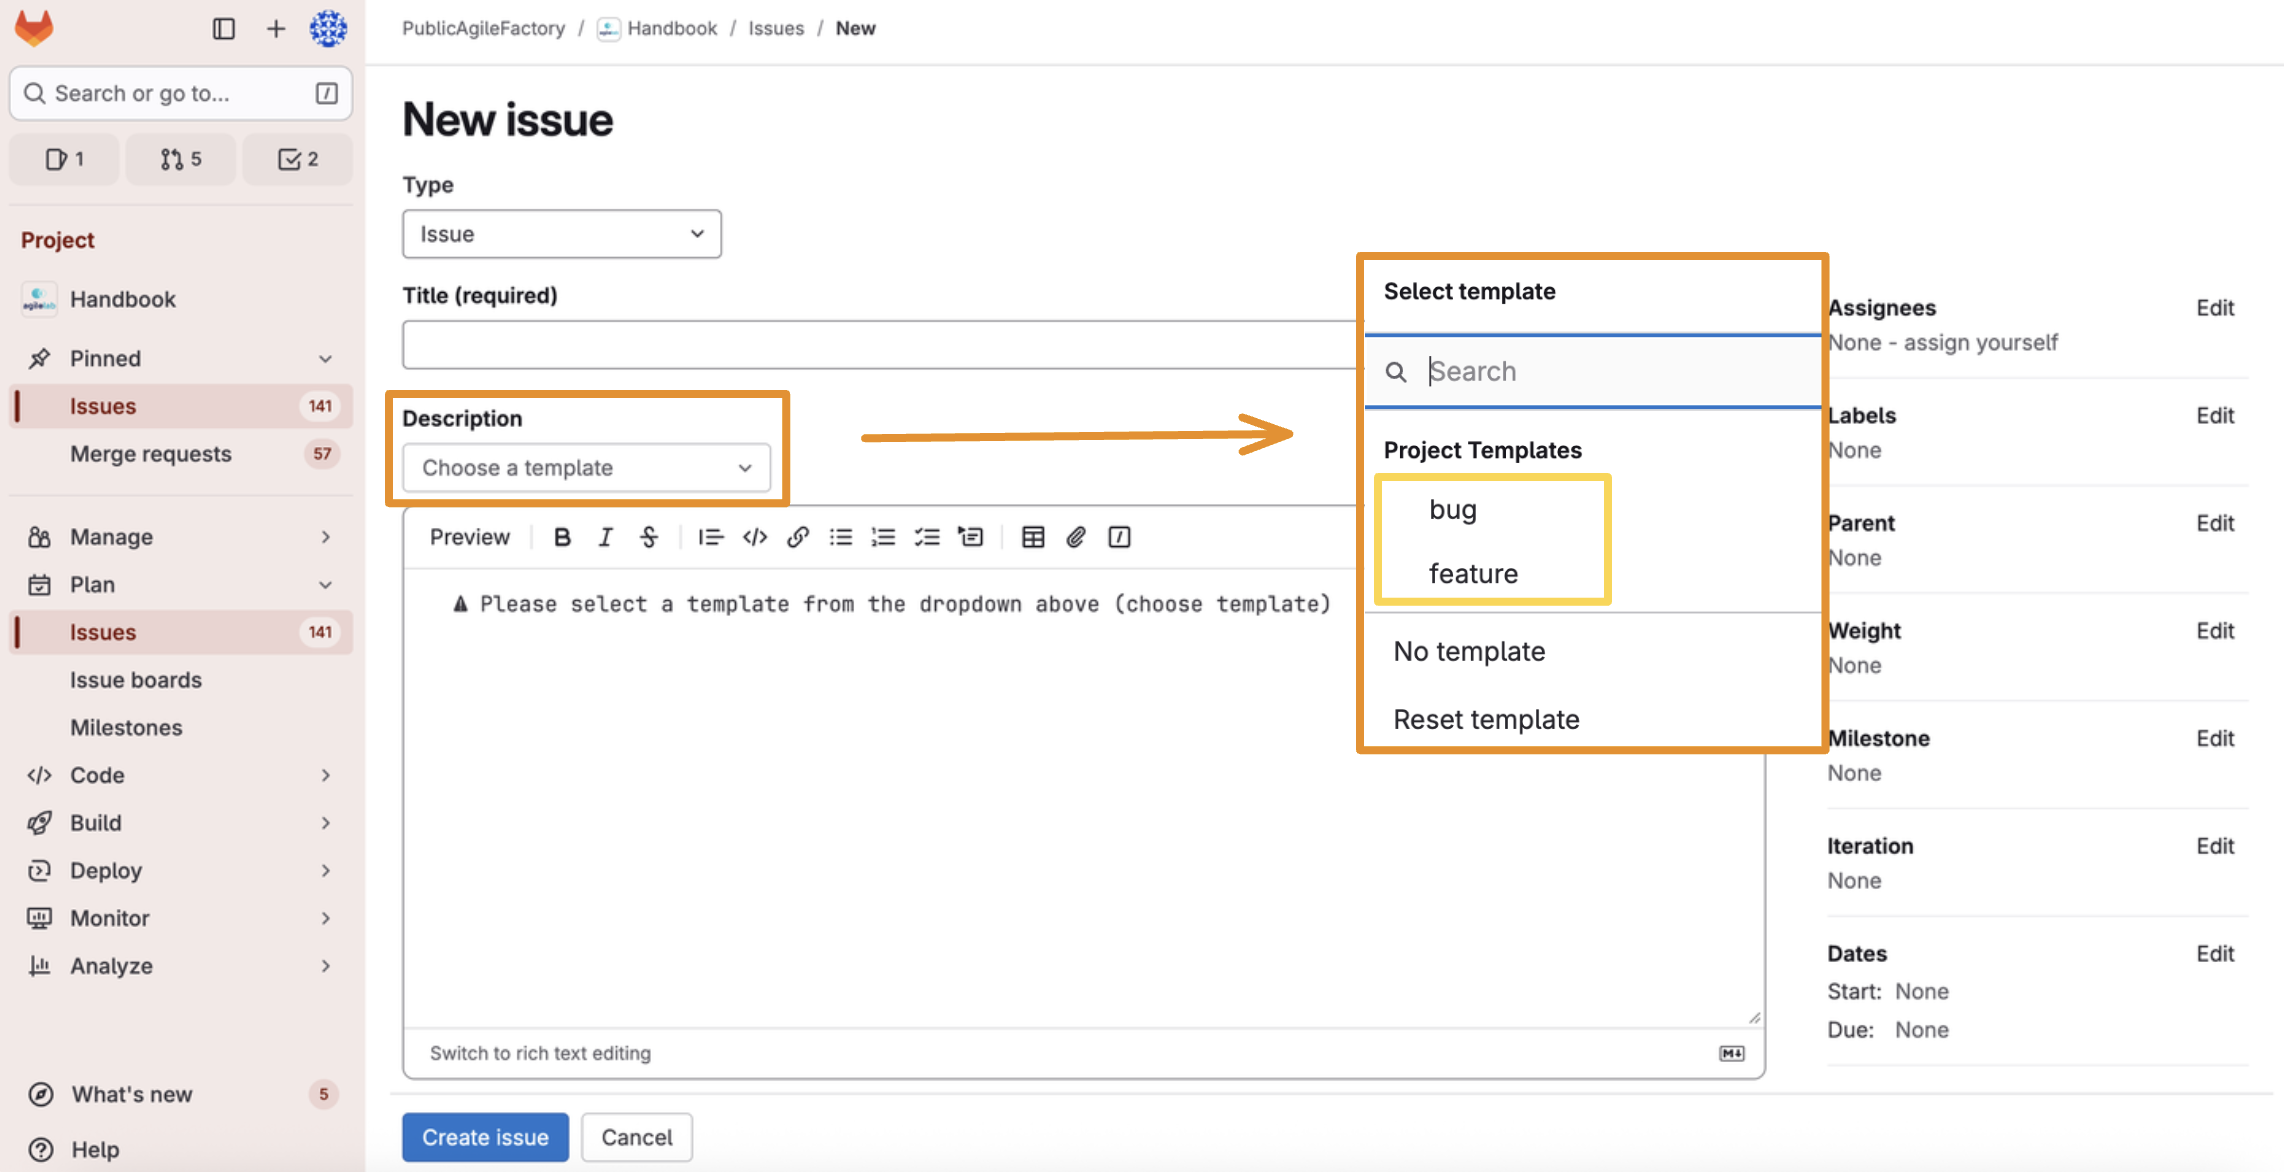
- Choose a template in the template dropdown menu: bug if you want to report something that you think is wrong, feature if you would like something to be added or modified.
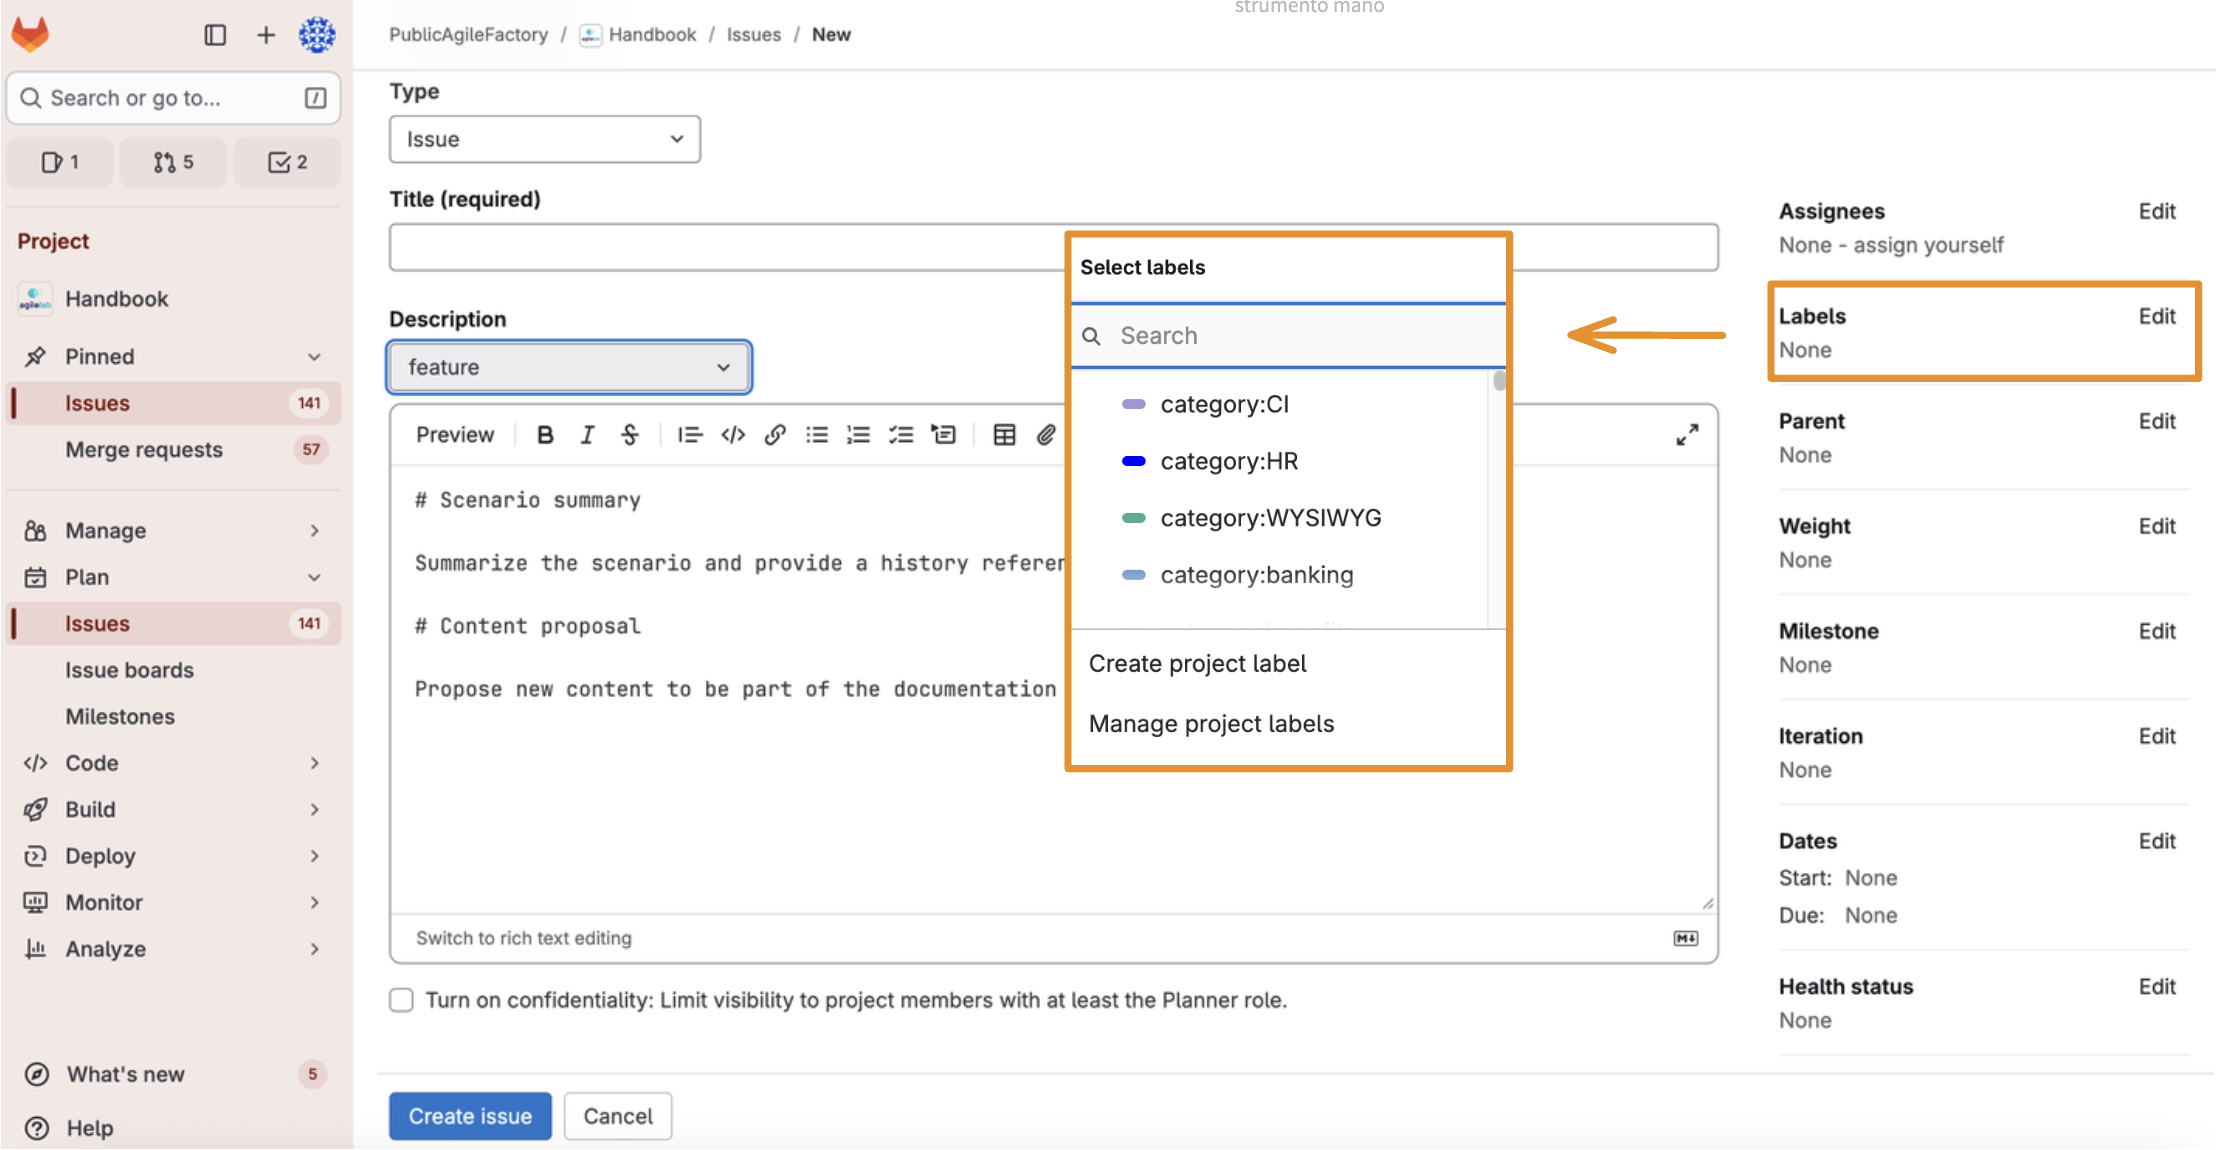
- Edit the page according to your needs. Remember to use the labels (in the right column) if you want to bring the issue to the attention of some circle (for example HR, training, finance...).
- Once you are happy with the result, publish your issue by selecting the "Create issue" button, in the bottom of the page.
- To keep track of your issue, you can go to the issue section in the left column, you'll find your issue with an associated number.
Modify the Handbook - Open new branches
If you find an issue - your own or someone else's - that you want to solve, you can open a new branch to solve it. To open a new branch and apply your changes you have to:
- Select "Branches" from the "Code" section in the left column.
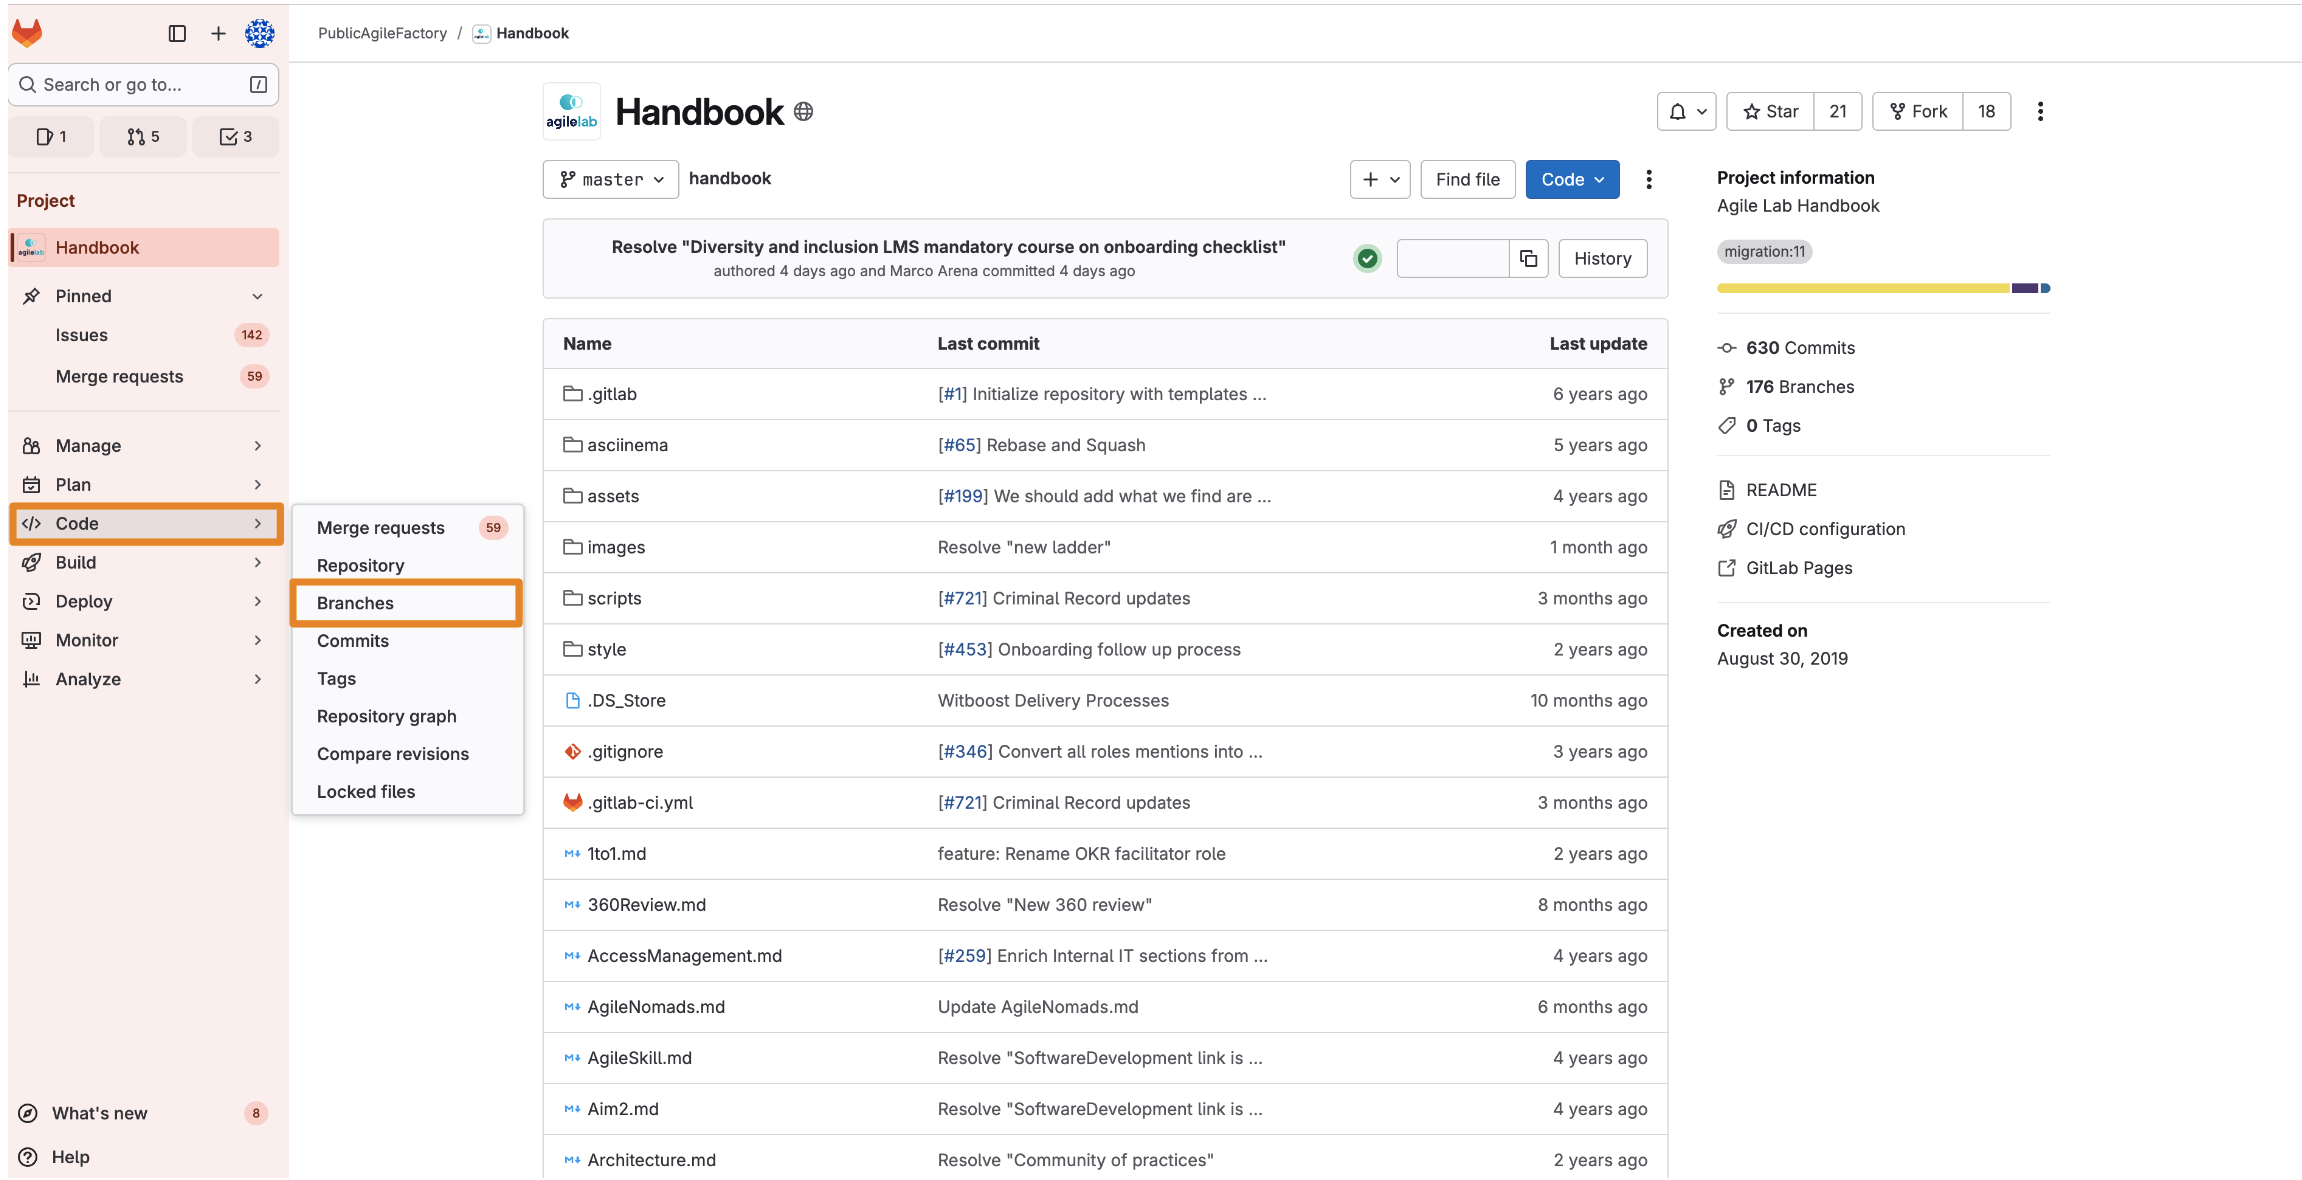
- Select the "New branch" button in the top right corner.
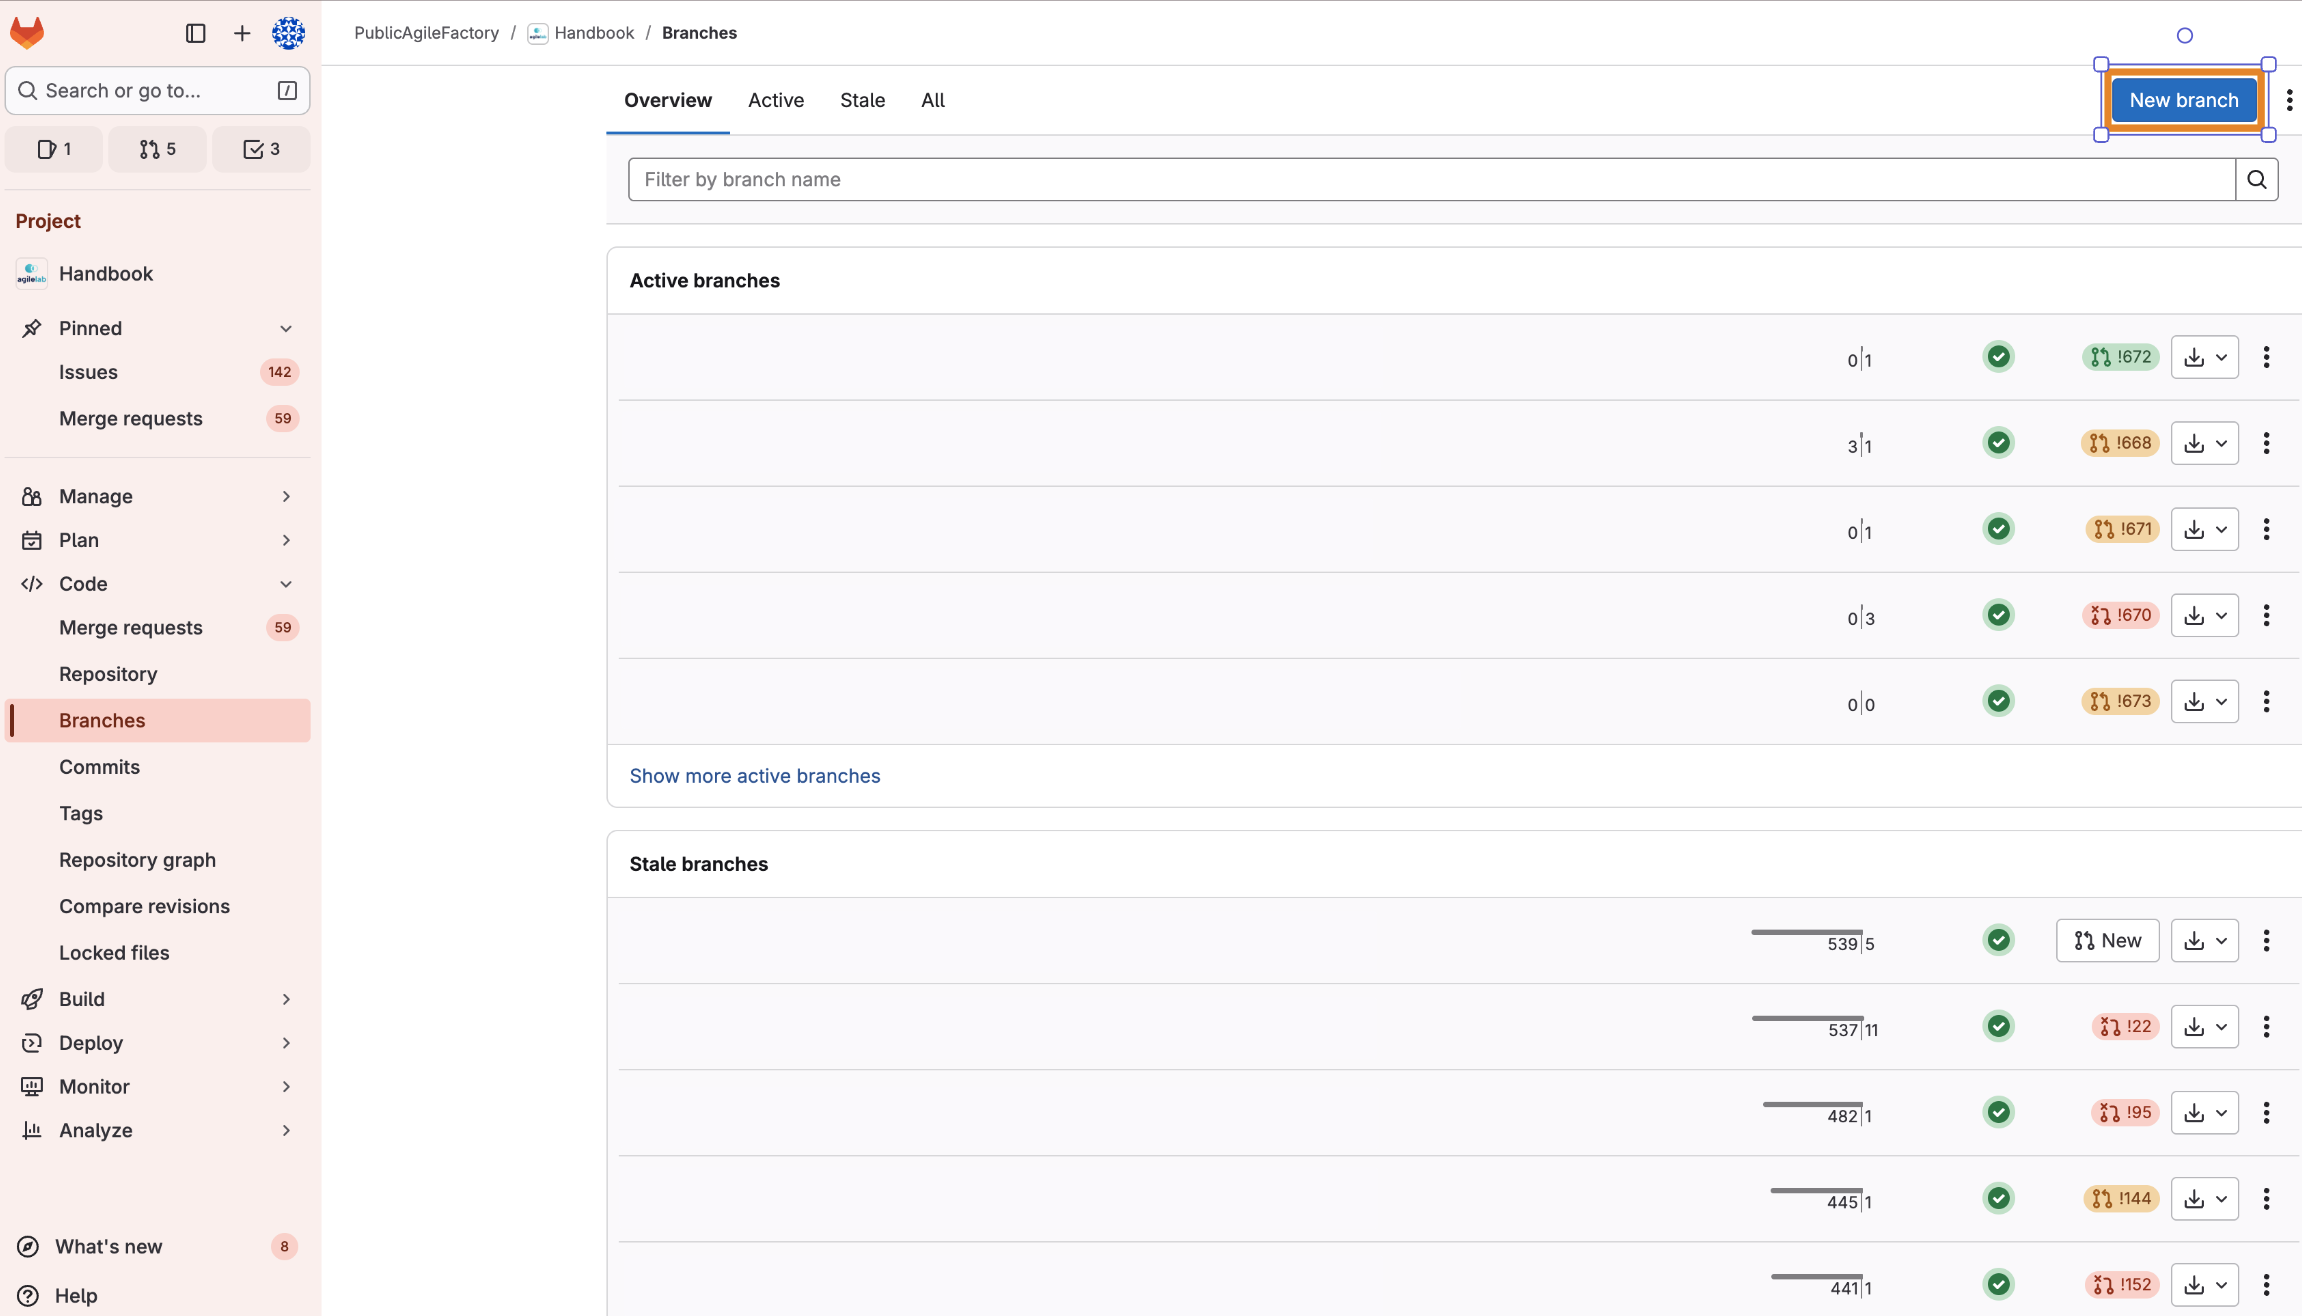
- Choose a branch name and create your branch. As a best practice, start with
feature/when adding or modifying a page, and withfix/when solving a bug. Adding the related issue number in the branch name helps keep the repository organized.
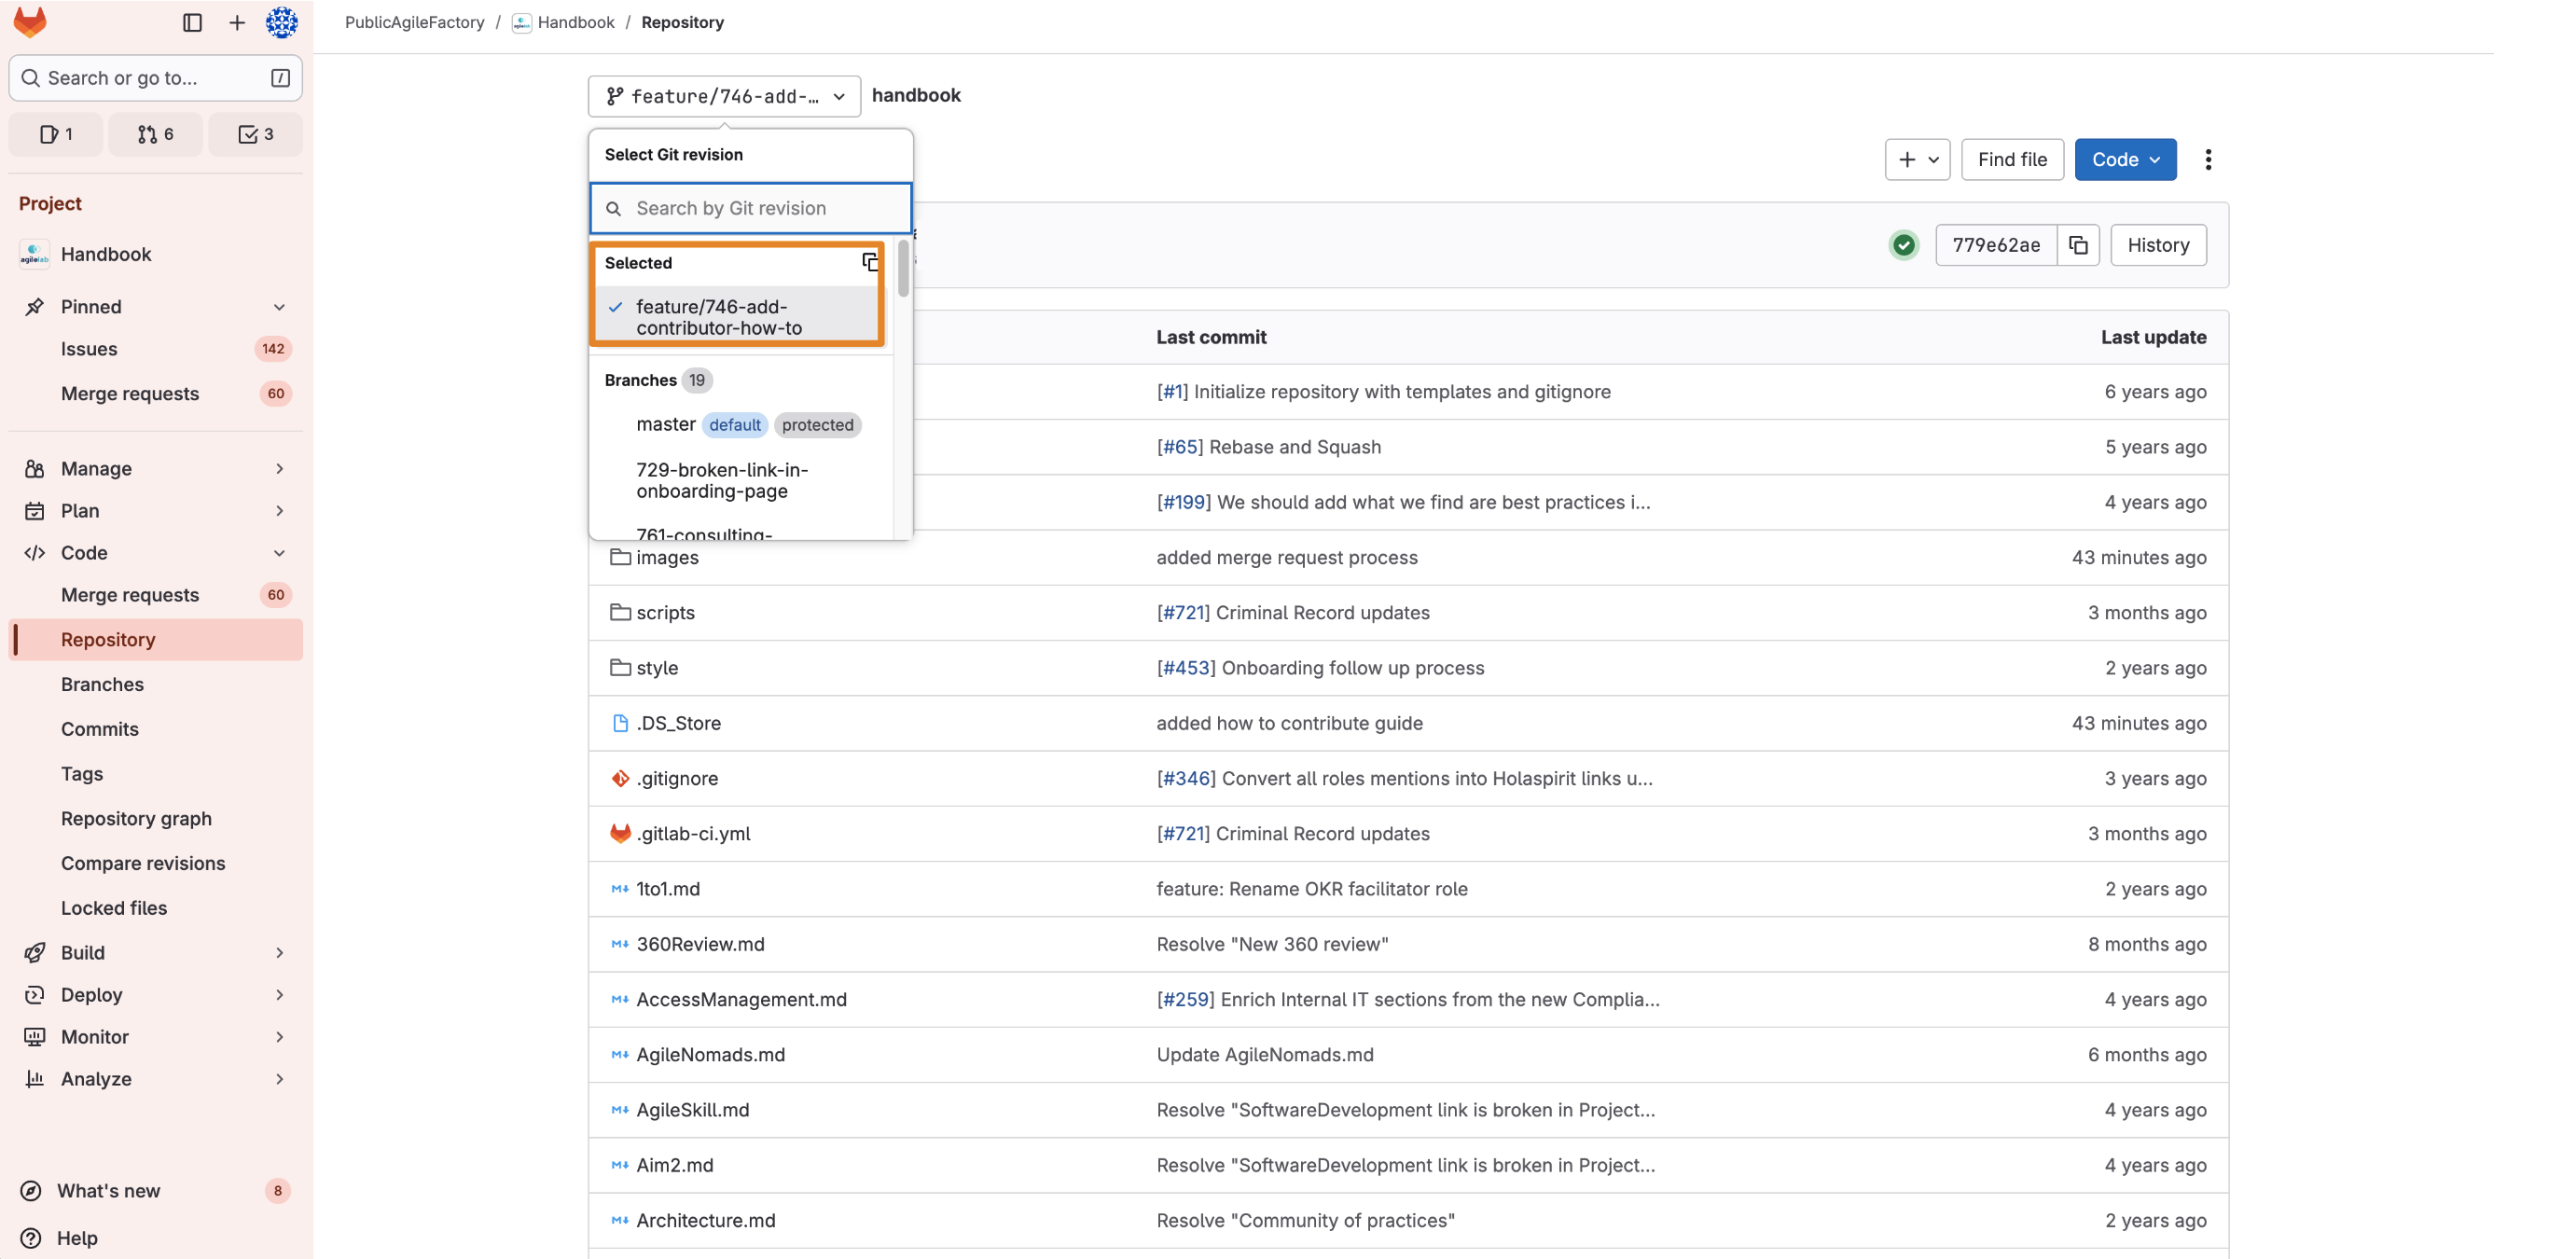
- Now that your branch has been created, you can edit it. Make sure that you are in your branch by checking that the selected branch in the homepage is the one you created.
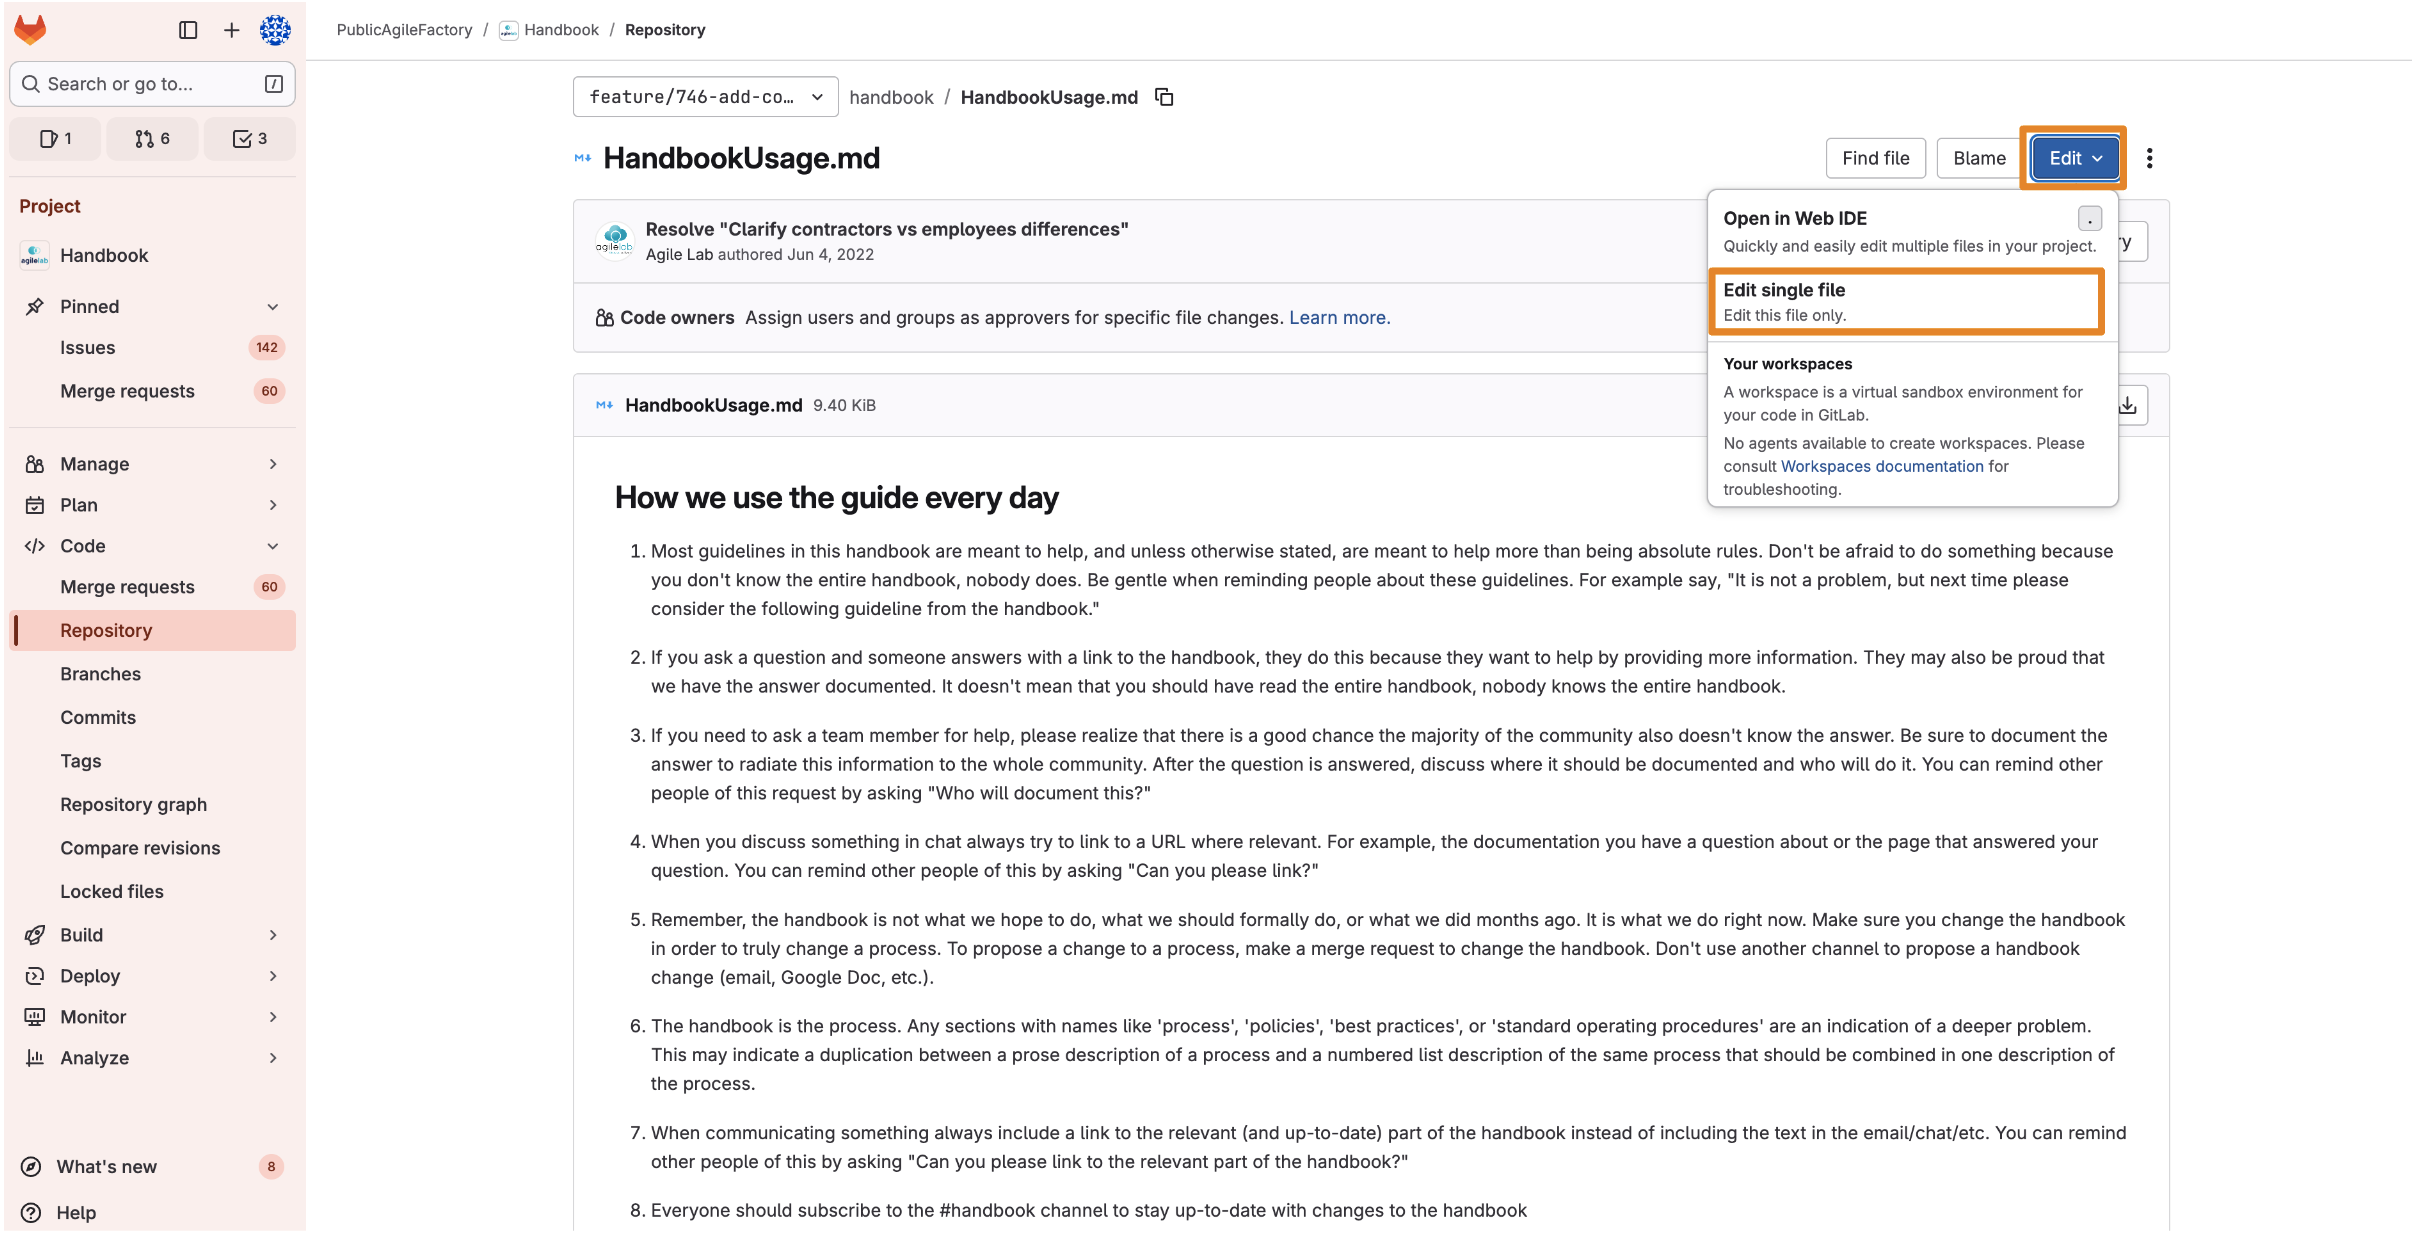
- Select the file you want to change and press the "Edit" button in the top right corner. Select the "Edit single file" option and modify the page according to your needs. The pages are written in Markdown format (.md) — you can find a complete usage guide here.
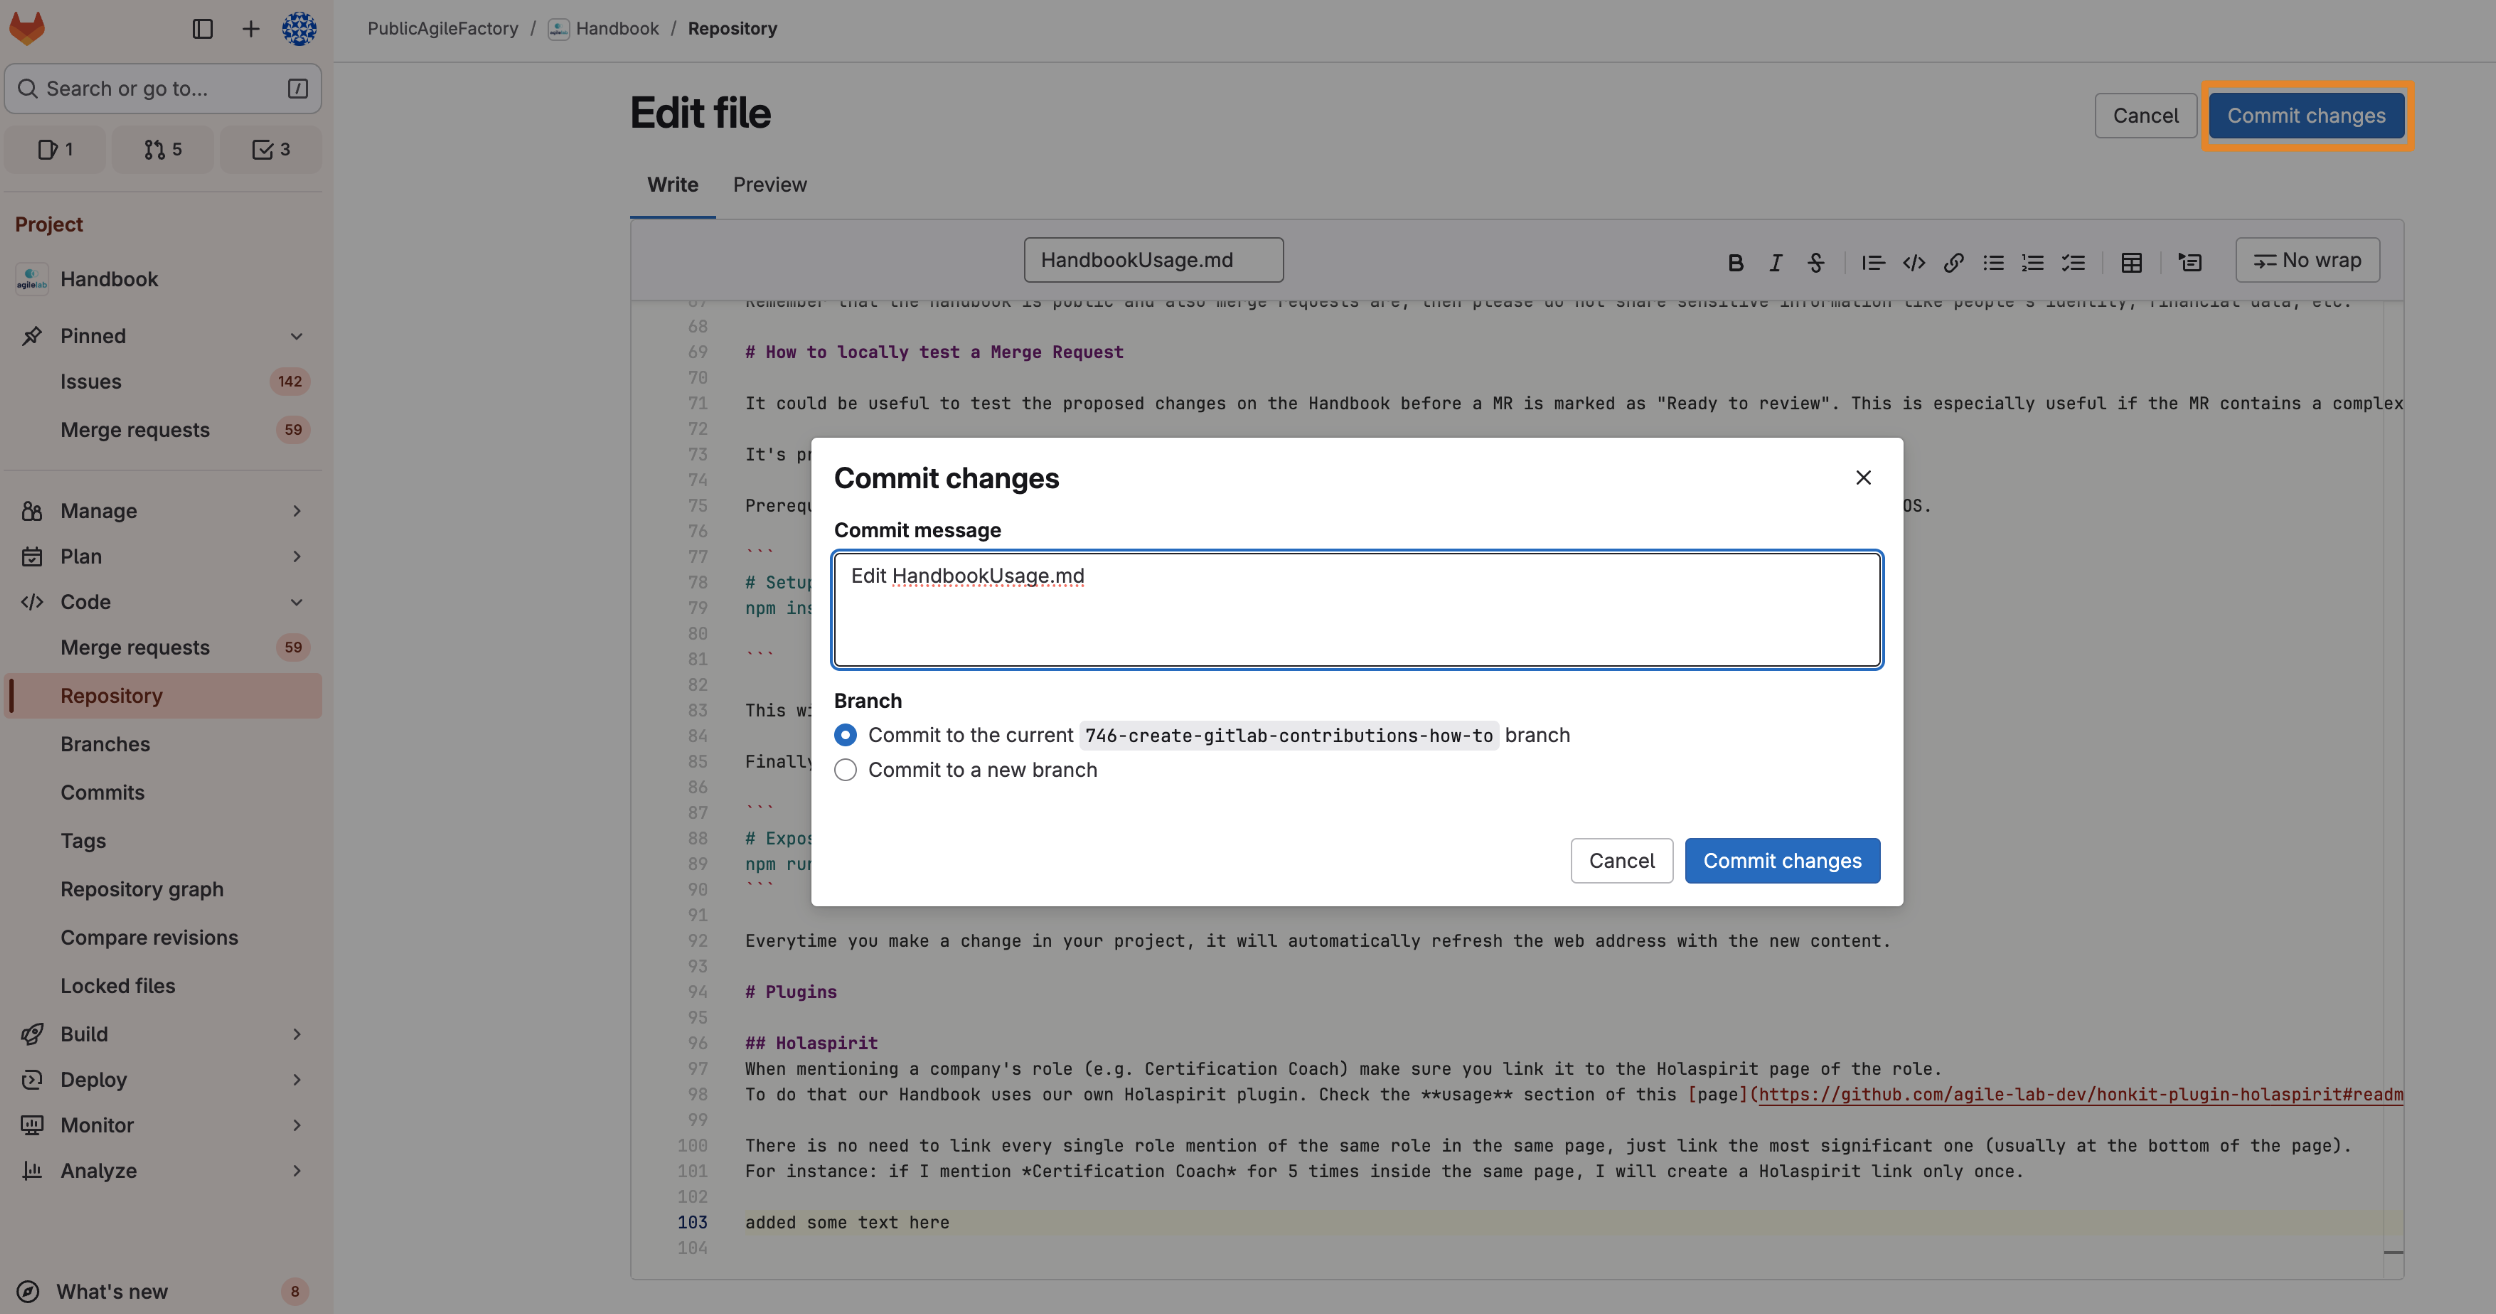
- Once you are happy with the result, commit your changes by pressing the "Commit changes" in the top right corner. Edit the commit message with a brief summary of the changes you made and commit.
Open merge requests
Finally, when you want to integrate your changes to the Handbook you need to open a merge request:
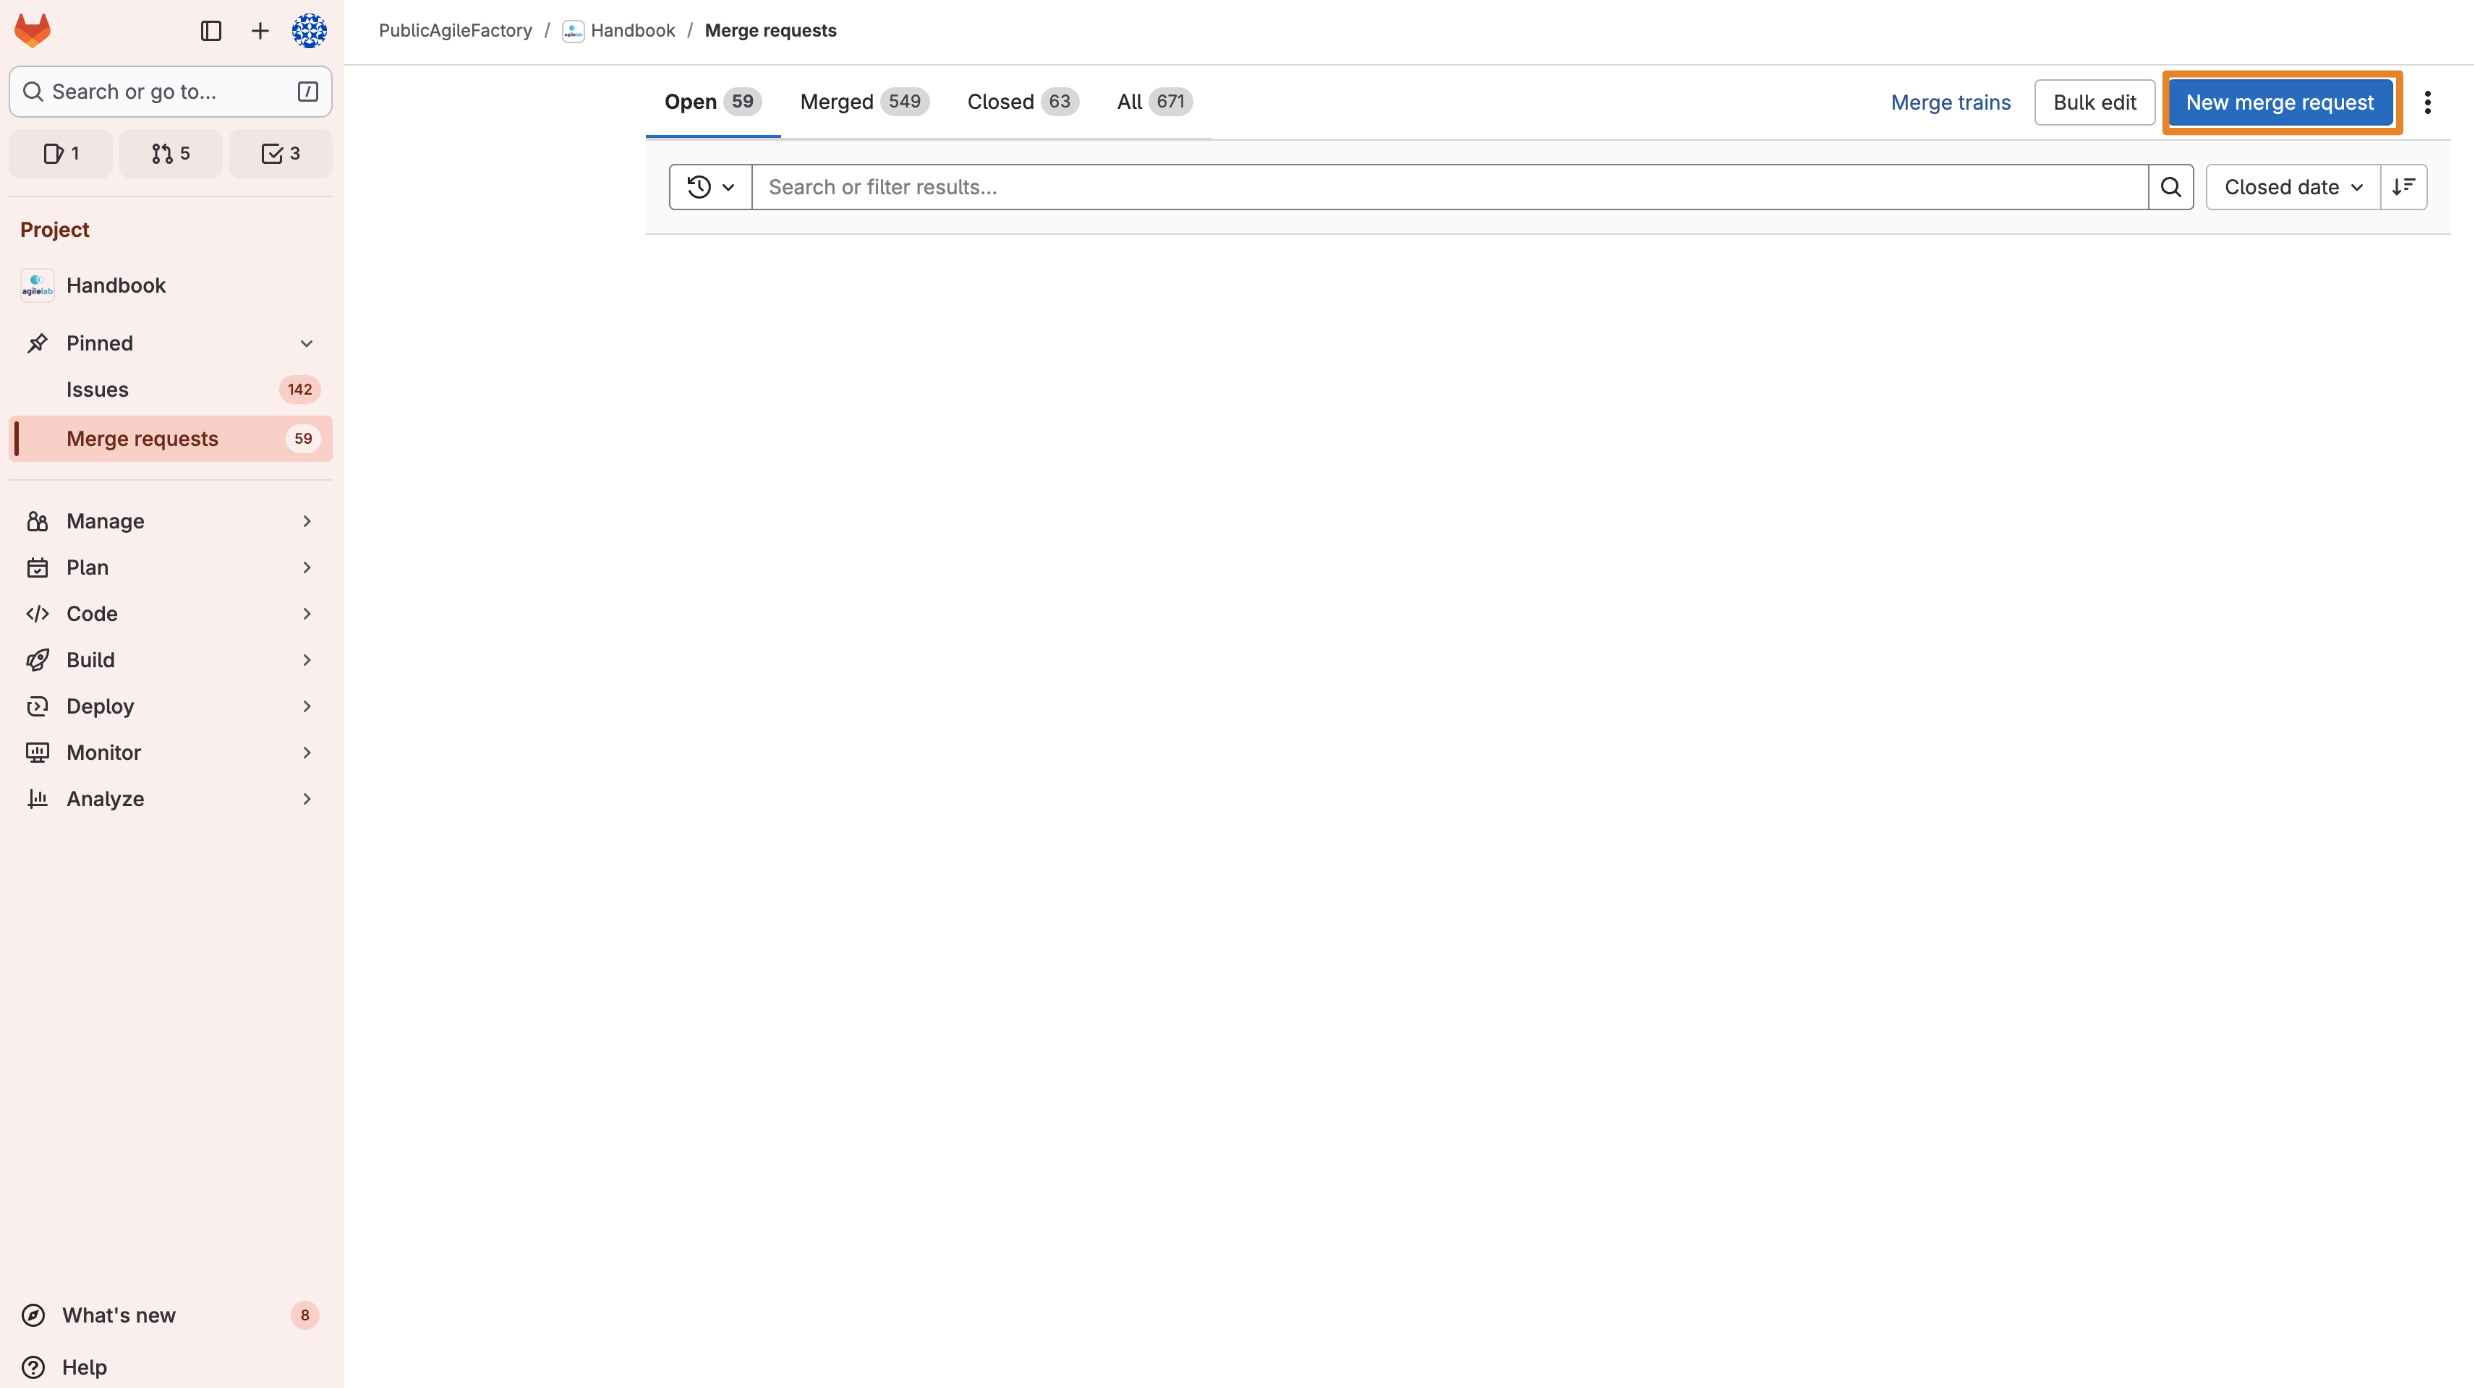
- Select the "Merge requests" section in the left column (or select "Merge requests" from the "Code" section in the left column).
- Press the "New merge request" button in the top right corner.
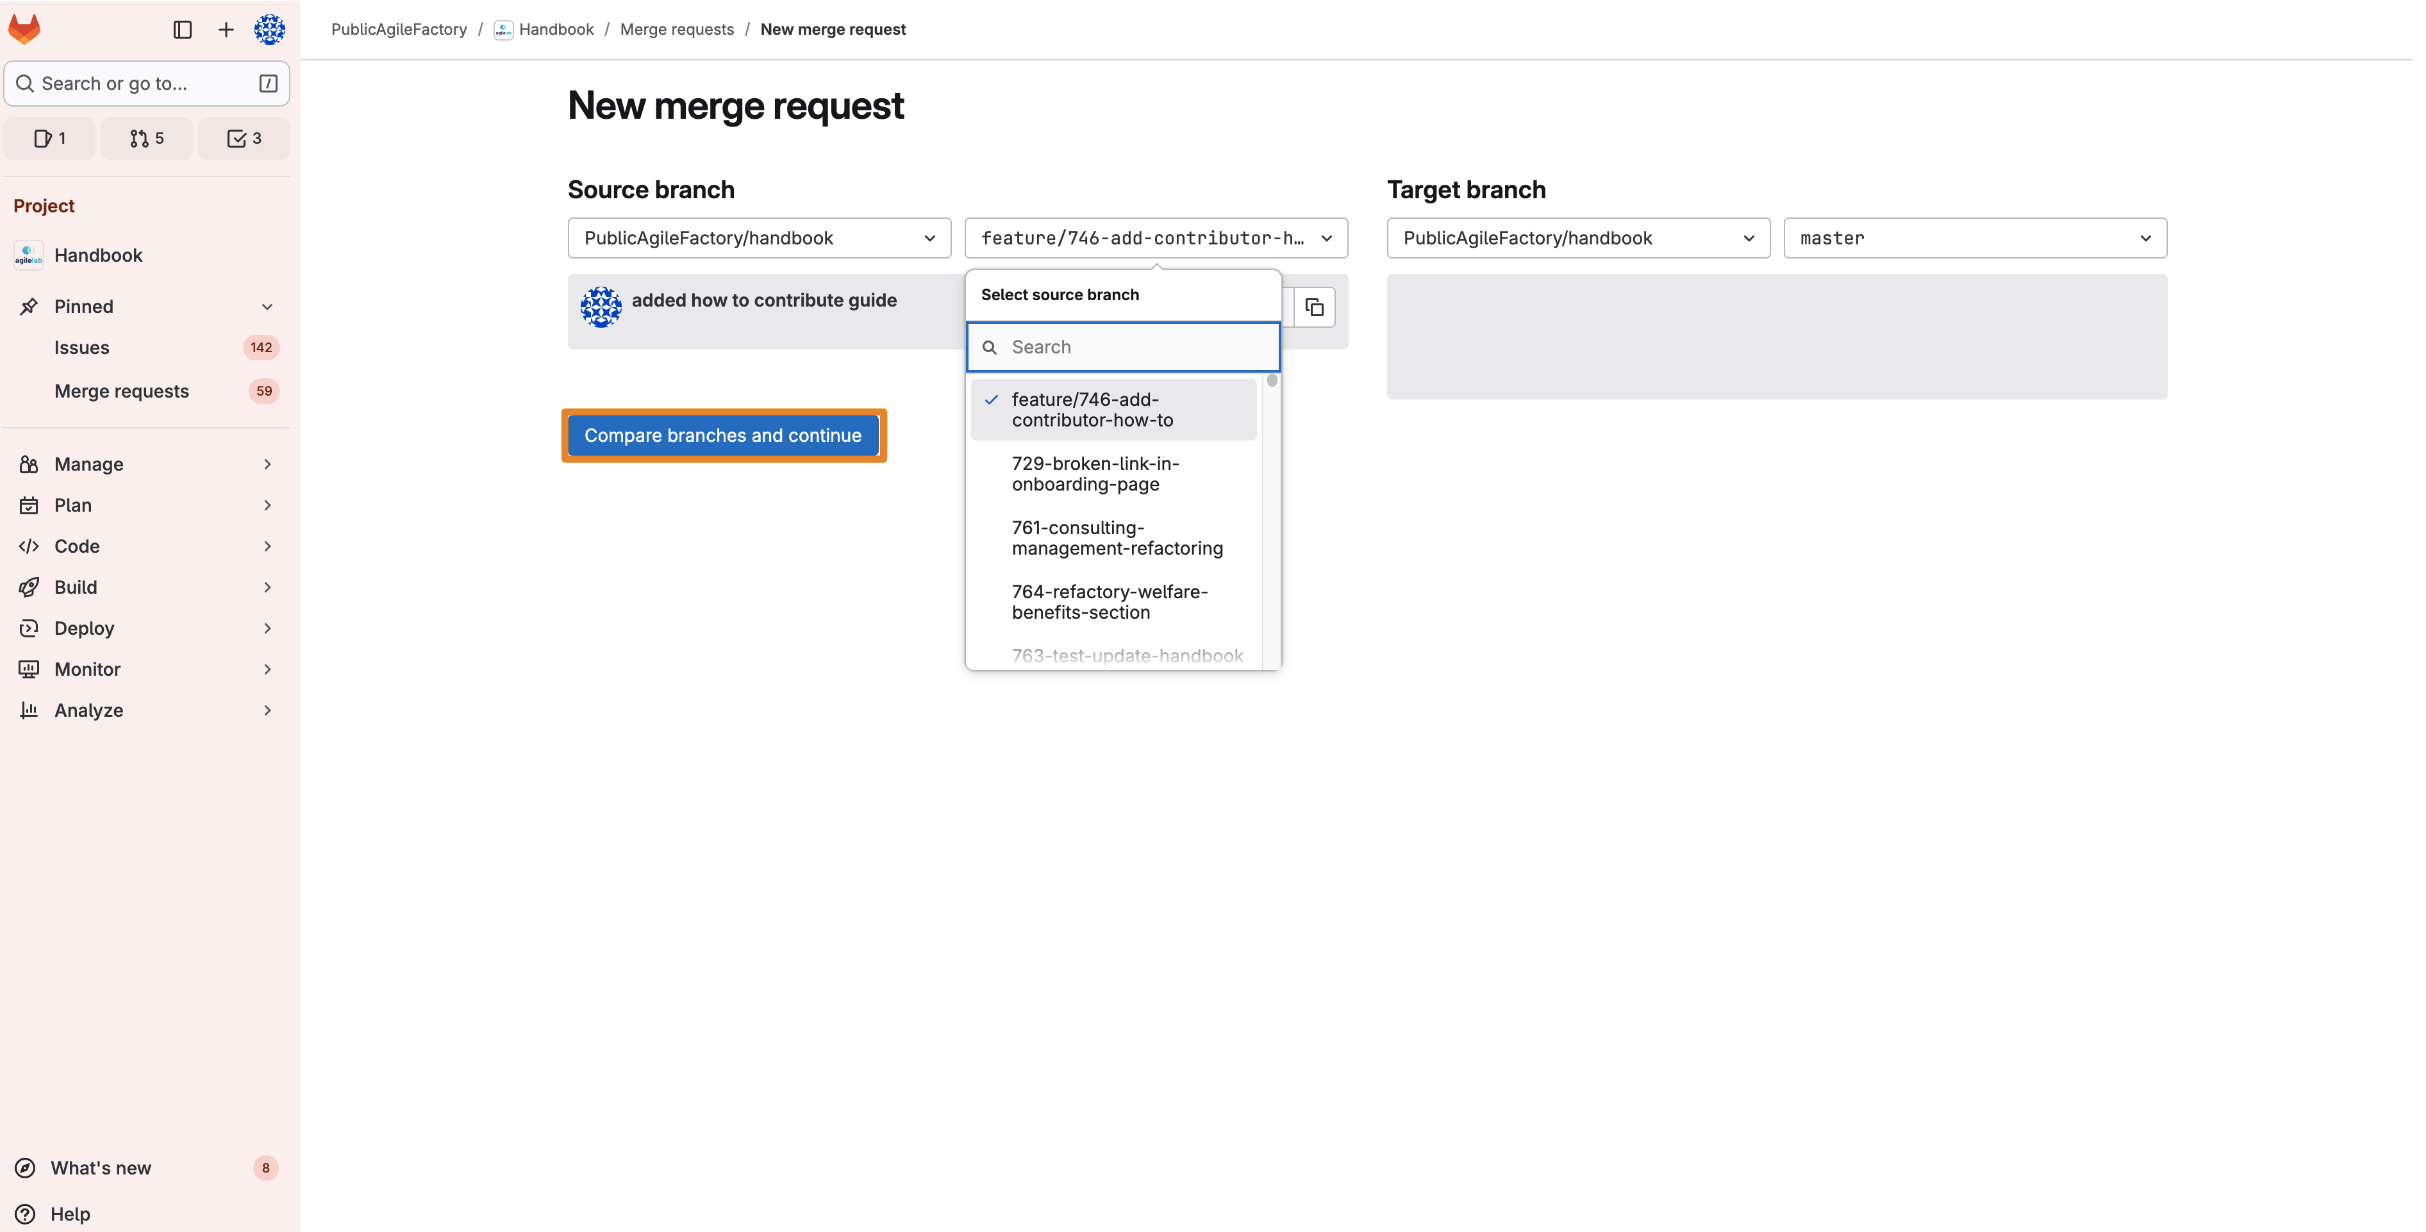
- Select as source branch the one you want to merge, then press "Compare branches and continue".
- Customize your merge request: add a clear title and modify the description with a summary of the changes you made. Select the standard template and fill in the necessary fields. Use Labels to notify the relevant circle (for example, HR, Training, Finance). Assign the merge request to the appropriate
Handbook Maintainer; each circle has its own, determined by the label you added. If you are unsure who the Maintainer is, check Holaspirit. If a circle doesn't have a dedicated Maintainer or the merge request isn't for a specific circle, assign it to thecircle:Agile LabcircleHandbook Maintainer.
- Check the "Delete source branch" box before selecting "Create merge request" to make sure that your work branch will be deleted once the changes have been added to the Handbook.
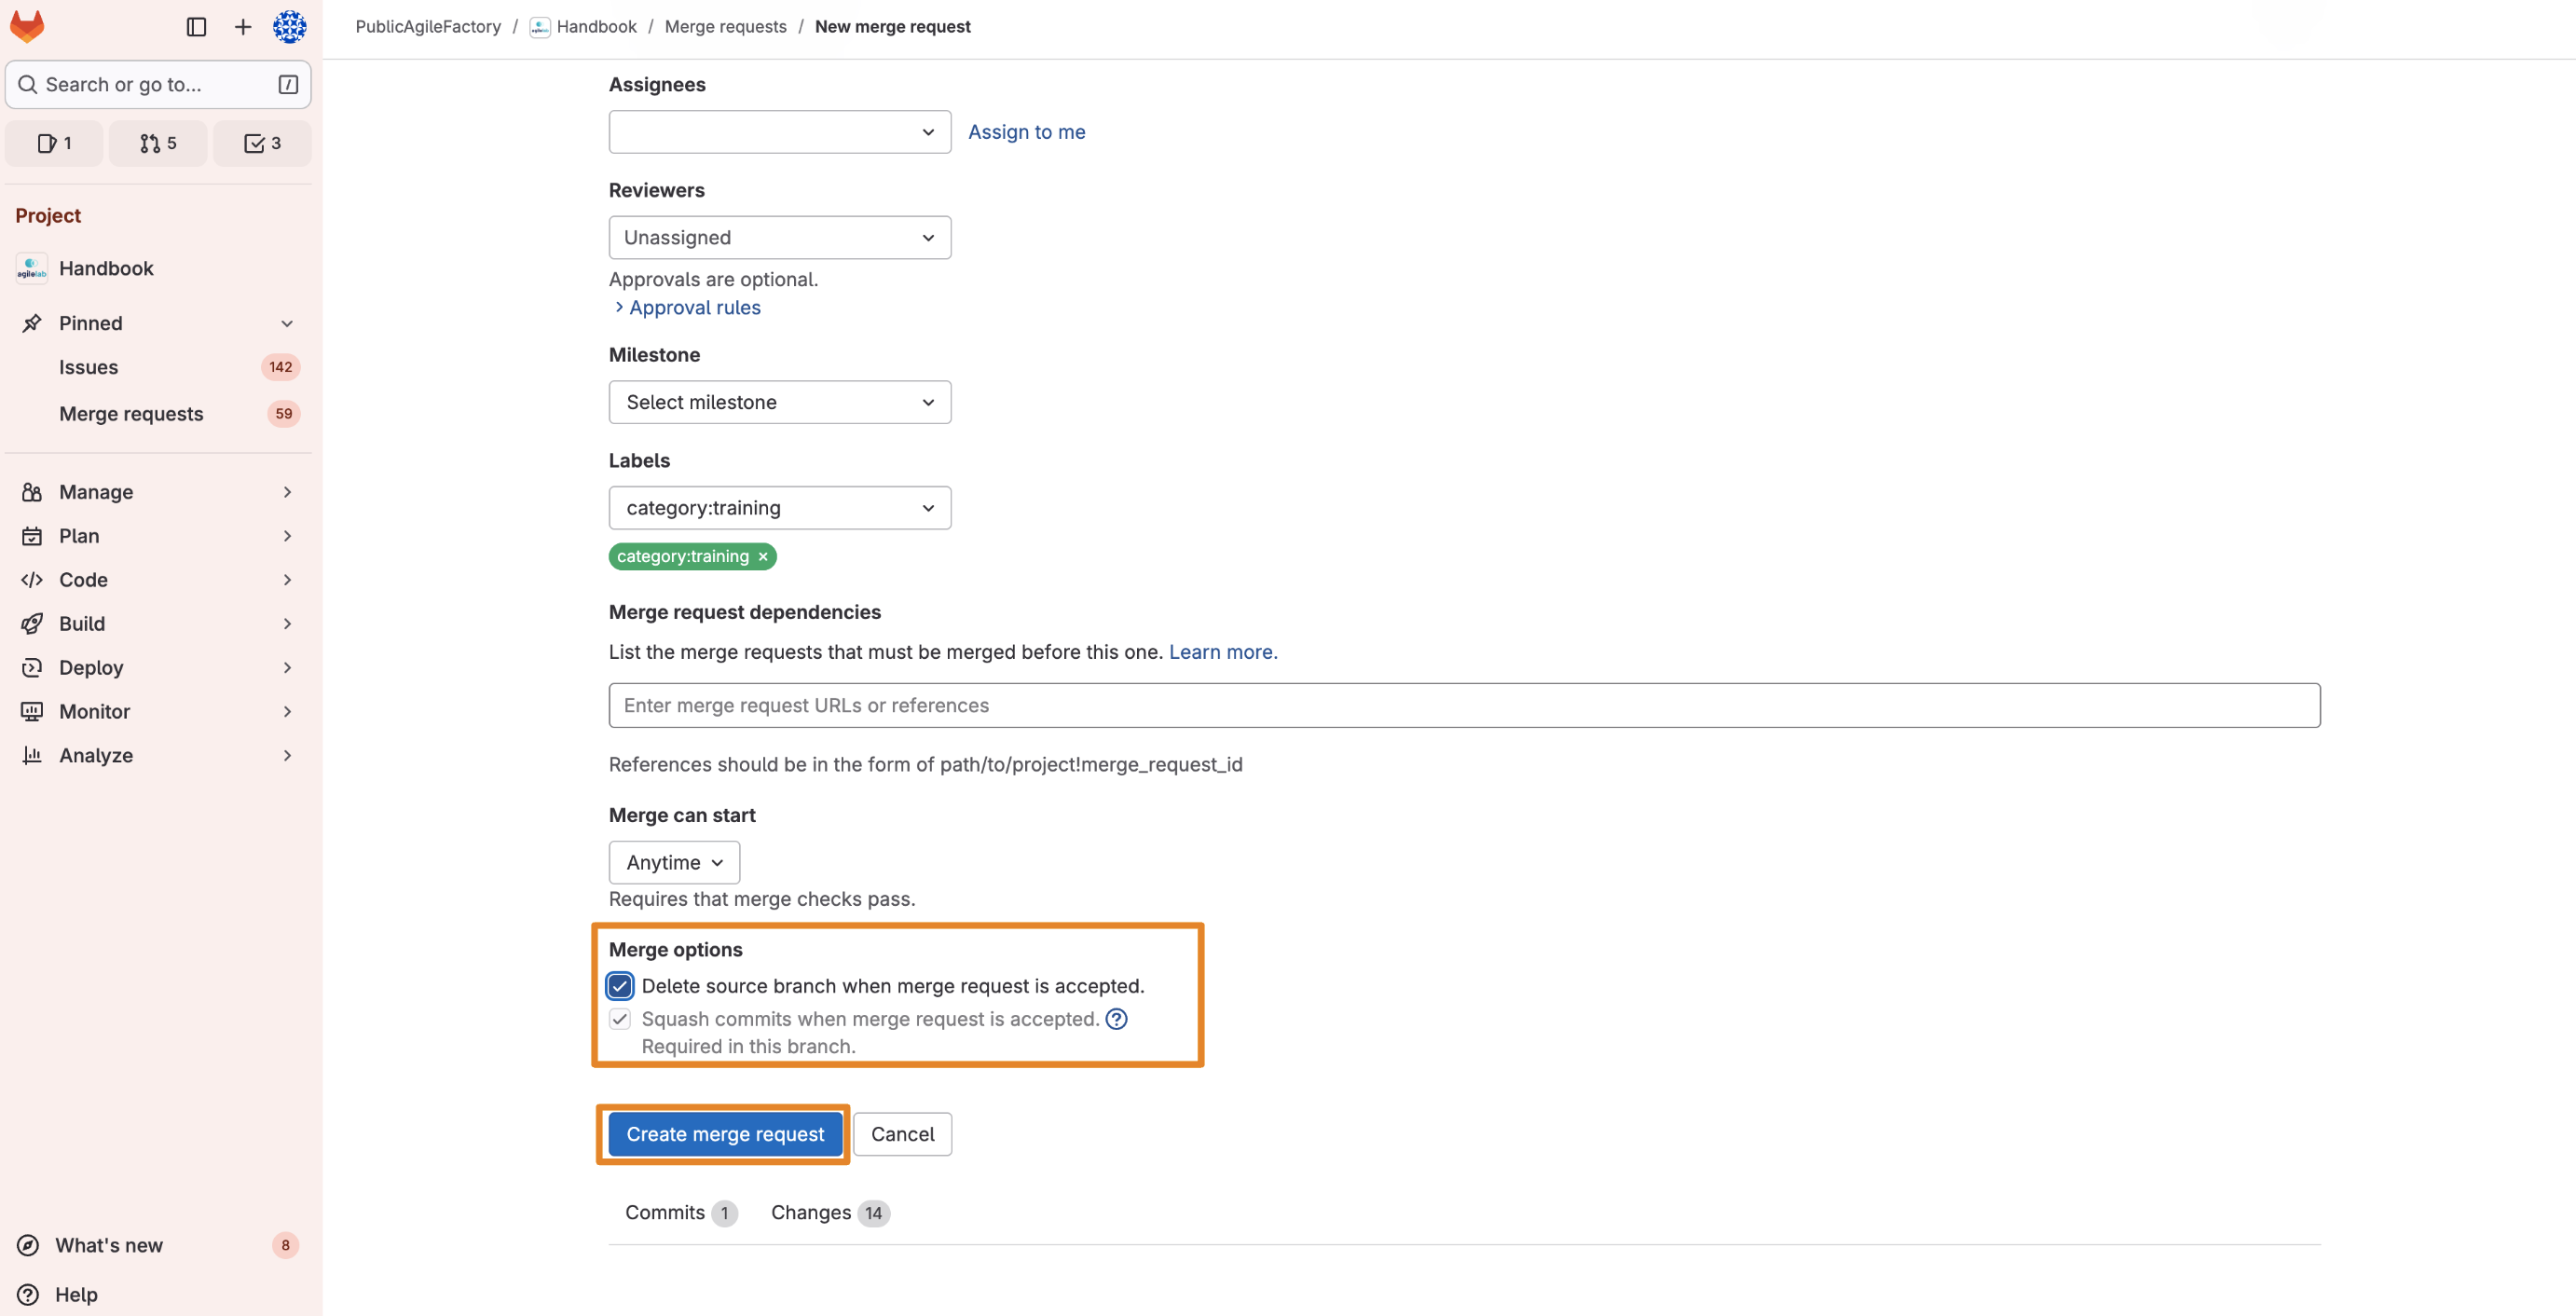
Now your merge request is ready to be reviewed and merged! An Handbook Maintainer will help you reviewing, resolving any critical issues and merging your proposal.